有關於使用Atom進行Python開發的網上資料比較少,最近發現使用Atom結合Hydrogen插件進行Python開發,尤其是數據挖掘相關的工作,整體體驗要好於Vscode,Vscode雖然說也有連接Jupyter的工具,但是交互式的開發Hydrogen體驗更好。
這里放了個動圖來展示一下Hydrogen的強大
插件安裝
Python
- Hydrogen
- atom-ide-ui
- ide-python
這里要注意,本地的pip需要 安裝 python-language-server[all],在ide-python的readme中有詳細說明
遠程連接
- Remote FTP
美化
-
simplified-chinese-menu(漢化補丁)
-
file-icons(文件夾圖標)
-
bracket-colorizer(彩虹括號,找了好久,確定就是必須配合暗色主題)
-
atom-bracket-highlight(括號高亮)
-
atom-clock(加個時鍾在右下角)
-
highlight-selected(高亮選擇)
-
minimap(類似sublime的右側map欄)
-
minimap-highlight-selected(選擇代碼后,map上也高亮,方便定位代碼)
插件配置
Remote FTP
這里先講一下我的需求,我是需要利用其連接公司服務器上的內容,但是公司服務器是需要跳板機的,所以我需要通過跳板機才能訪問,因此配置上會有些復雜
{
    "protocol": "sftp",
    "host": "跳板機域名", // string - Hostname or IP address of the server. Default: 'localhost'
    "port": 跳板機端口, // integer - Port number of the server. Default: 22
    "user": "用戶名", // string - Username for authentication. Default: (none)
    "pass": "如果用密鑰這里就不用填", // string - Password for password-based user authentication. Default: (none)
    "promptForPass": false, // boolean - Set to true for enable password/passphrase dialog. This will prevent from using cleartext password/passphrase in this config. Default: false
    "remote": "實際的服務器目錄,例如:/服務器域名/用戶名/目錄", // try to use absolute paths starting with /
    "agent": "", // string - Path to ssh-agent's UNIX socket for ssh-agent-based user authentication. Linux/Mac users can set "env" as a value to use env SSH_AUTH_SOCK variable. Windows users: set to 'pageant' for authenticating with Pageant or (actual) path to a cygwin "UNIX socket." Default: (none)
    "privatekey": "本地私鑰path", // string - Absolute path to the private key file (in OpenSSH format). Default: (none)
    "passphrase": "", // string - For an encrypted private key, this is the passphrase used to decrypt it. Default: (none)
    "hosthash": "", // string - 'md5' or 'sha1'. The host's key is hashed using this method and passed to the hostVerifier function. Default: (none)
    "ignorehost": true,
    "connTimeout": 10000, // integer - How long (in milliseconds) to wait for the SSH handshake to complete. Default: 10000
    "keepalive": 10000, // integer - How often (in milliseconds) to send SSH-level keepalive packets to the server (in a similar way as OpenSSH's ServerAliveInterval config option). Set to 0 to disable. Default: 10000
    "keyboardInteractive": 如果要用動態令牌,這里就要填true, // boolean - Set to true for enable verifyCode dialog. Keyboard interaction authentication mechanism. For example using Google Authentication (Multi factor)
    "keyboardInteractiveForPass": false, // boolean - Set to true for enable keyboard interaction and use pass options for password. No open dialog.
    "remoteCommand": "",
    "remoteShell": "",
    "watch":[],
    "watchTimeout":500, // integer - The duration ( in milliseconds ) from when the file was last changed for the upload to begin.
}
ide-python
需要配置一下Python Executable
填寫你的python路徑,比如使用的是conda虛擬環境,就這樣寫
/xxx/anaconda3/envs/xxx/bin/python
Hydrogen
連接本地Kernel
首先需要在上面填寫的路徑下的python環境中安裝ipykernel
python -m ipykernel install --user --name py37
然后用atom打開一個py文件,輸入
# %%
print('hello atom')

# %%
print('每一個# %%代表一個新的cell')
然后再第2行末尾按ctrl+enter就會自動彈出來讓你選擇環境的彈窗,選擇剛剛新建的環境即可

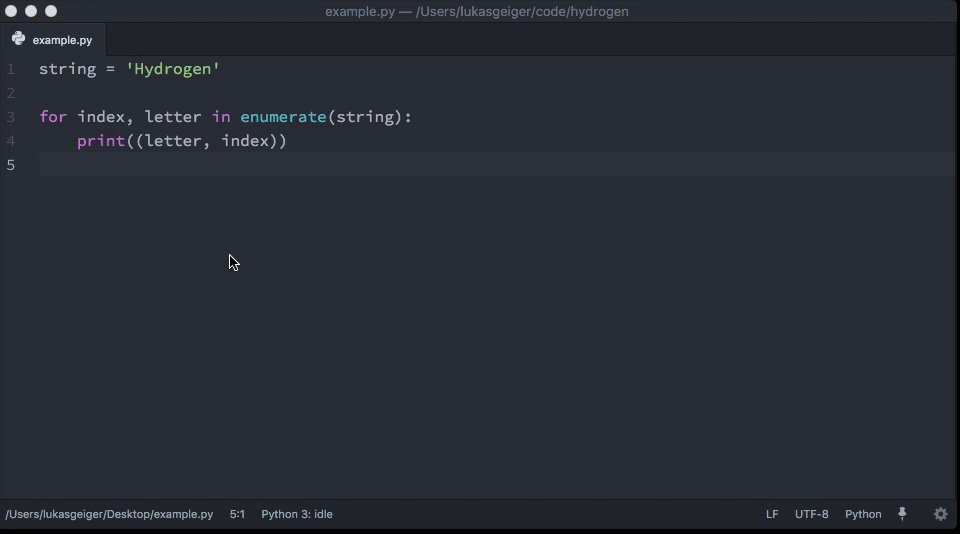
然后在Hydrogen里面通過使用# %%來分割每一個cell,在Mac中使用option+shift+enter組合鍵來實現運行當前整個ceil,使用command+enter實現運行當前行,使用shift+enter實現運行當前行並跳轉下一行,具體可參考官方文檔
連接遠程Kernel
連接遠程的Jupyter只需要配置一下Hydrogen設置里面的Kernel Gateways,填上如下內容即可
[{"name": "Remote server",
  "options": {
    "baseUrl": "jupyter url",
    "token": "jupyter token"
  }
}]
然后點擊Connect to Remote Kernel即可
