Nacos在Linux上的集群配置
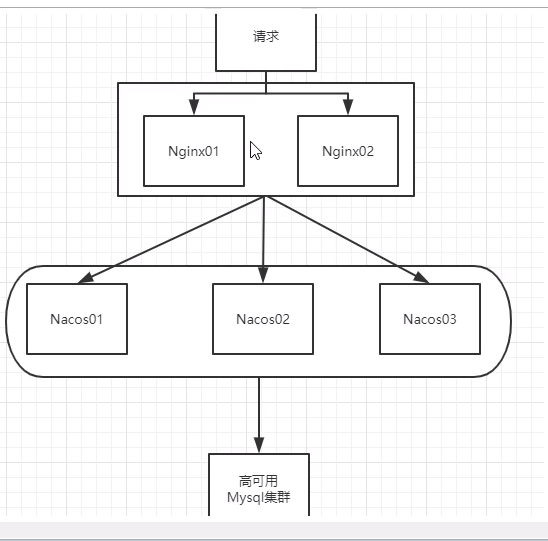
之前用的老師一個Nacos配置中心,但在生產環境中是不可能一台的,肯定是集群。因為如果不是集群,那么如果一個炸了,注冊到Nacos的服務集群將全部炸。所以我們必須要搞集群。
有沒有這樣的疑惑,之前我們寫的配置文件,都是什么存的?其實, 默認Nacos使用嵌入式數據庫(derby數據庫),實現數據存儲。但是如果啟動多個默認配置下的Nacos節點,每個nacos都有自己獨立呃嵌入式數據庫,存放的數據不一致。為了解決這個問題,Nacos采用了集中式存儲的方式來支持集群化部署,目前只支持MySQL存儲。
以下步驟:window下配置 -> Linux生產級別使用
window下配置
即不使用Nacos,而使用Mysql數據庫代替。需要有數據庫,第二將數據庫配置進去。
1)創建數據庫:在nacos -> conf -> nacos-mysql.sql 執行生成。
2)nacos配置mysql數據庫:在nacos -> conf -> application.properties 追加:
spring.datasource.platform=mysql
db.num=1
db.url.0=jdbc:mysql://127.0.0.1:3306/nacos_config?characterEncoding=utf8&connectTimeout=1000&socketTimeout=3000&autoReconnect=true&useUnicode=true&useSSL=false&serverTimezone=UTC
db.user=root
db.password=3333
3)啟動( bash startup.sh -m standalone )nacos,訪問:http://127.0.0.1:8848/nacos/index.html 登錄(nacos、nacos)后,發現原來的數據全部消失了。
加入一條配置文件后,查看數據庫中config_info表,發現數據錄入了我們配置的mysql數據庫中了。

集群配置環境:我們在Linux上配置好Nacos后,需要在Nacos上配置Mysql,然后再進行集群配置,也就是都是修改Nacos的配置文件。
以下步驟:在Linux上搭建Nacos -> 將Mysql配置進Nacos -> Nacos的集群環境的配置
1)在Linux上搭建Nacos
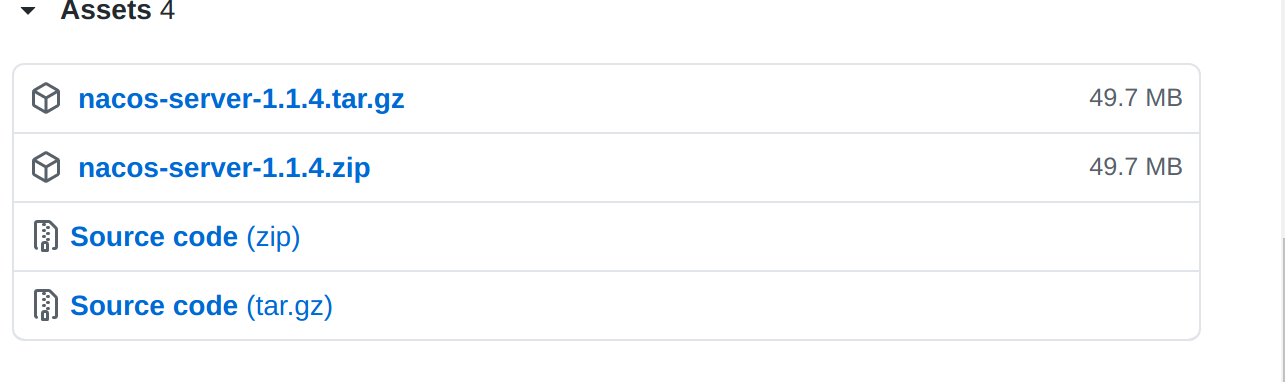
選擇下載第一個:
-
下載好后,移動到目標目錄進行解壓。
2)將Mysql配置到 Nacos:
-
創建數據庫:nacos_config 執行根目錄下
conf > nacos-mysql.sql -
開始配置:將以下配置修改成你的,然后配置進Nacos根目錄下的
conf > application.properties中“追加”:#mysql
spring.datasource.platform=mysql
db.num=1
db.url.0=jdbc:mysql://127.0.0.1:3306/nacos_config?characterEncoding=utf8&connectTimeout=1000&socketTimeout=3000&autoReconnect=true
db.user=root
db.password=3333
3)Nacos的集群配置
-
說明:其它就只需要配置
cluster.conf、與startup.sh -
cluster.conf:
-
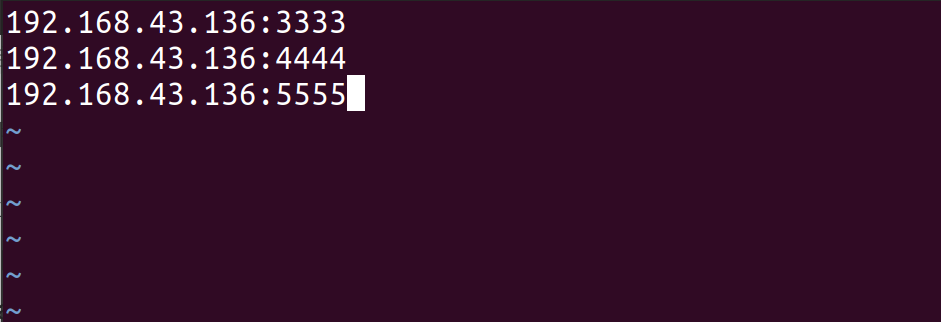
獲取自身ip地址

vim cluster.conf
-
-
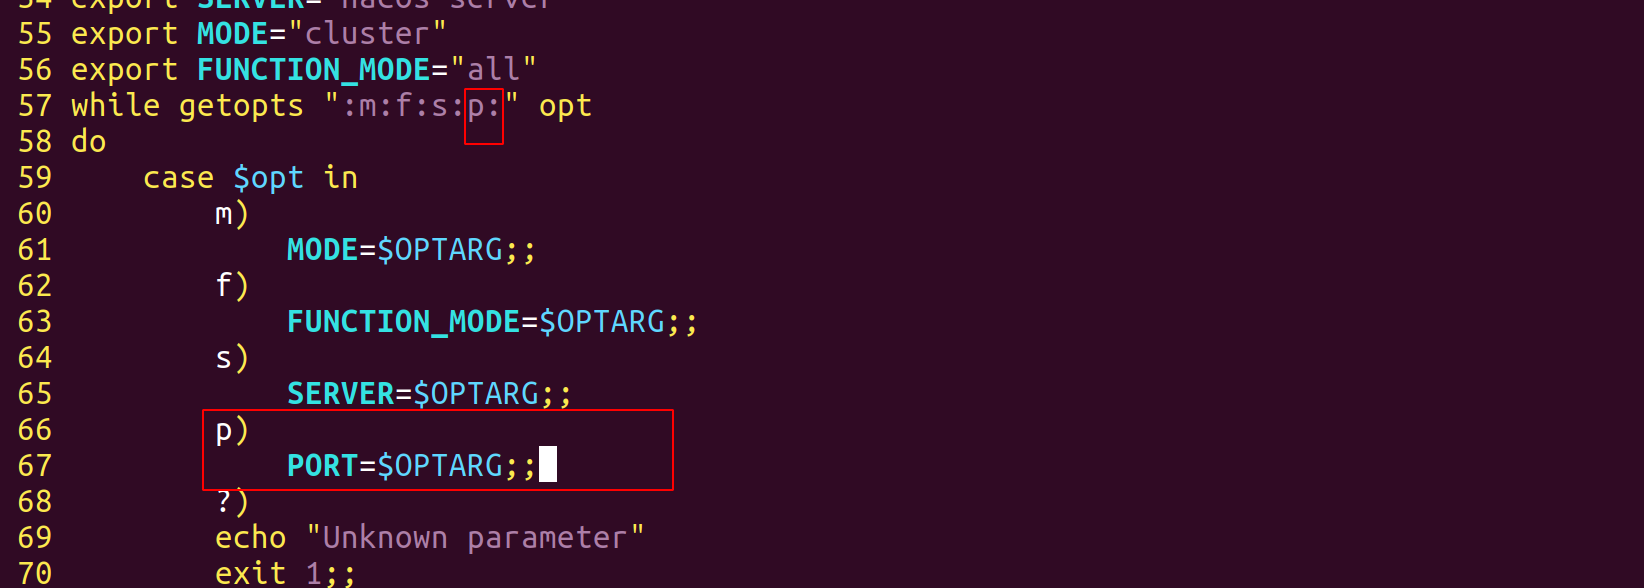
編輯啟動文件
startup.sh-
加入以下內容:

4.啟動:bash ./startup.sh -p 3333
bash ./startup.sh -p 4444
bash ./startup.sh -p 5555
#查看啟動個數,在根目錄下
ps -ef|grep nacos|grep -v grep|wc -l -
4)nginx的配置到集群系統
nginx的安裝:在Linux上:
-
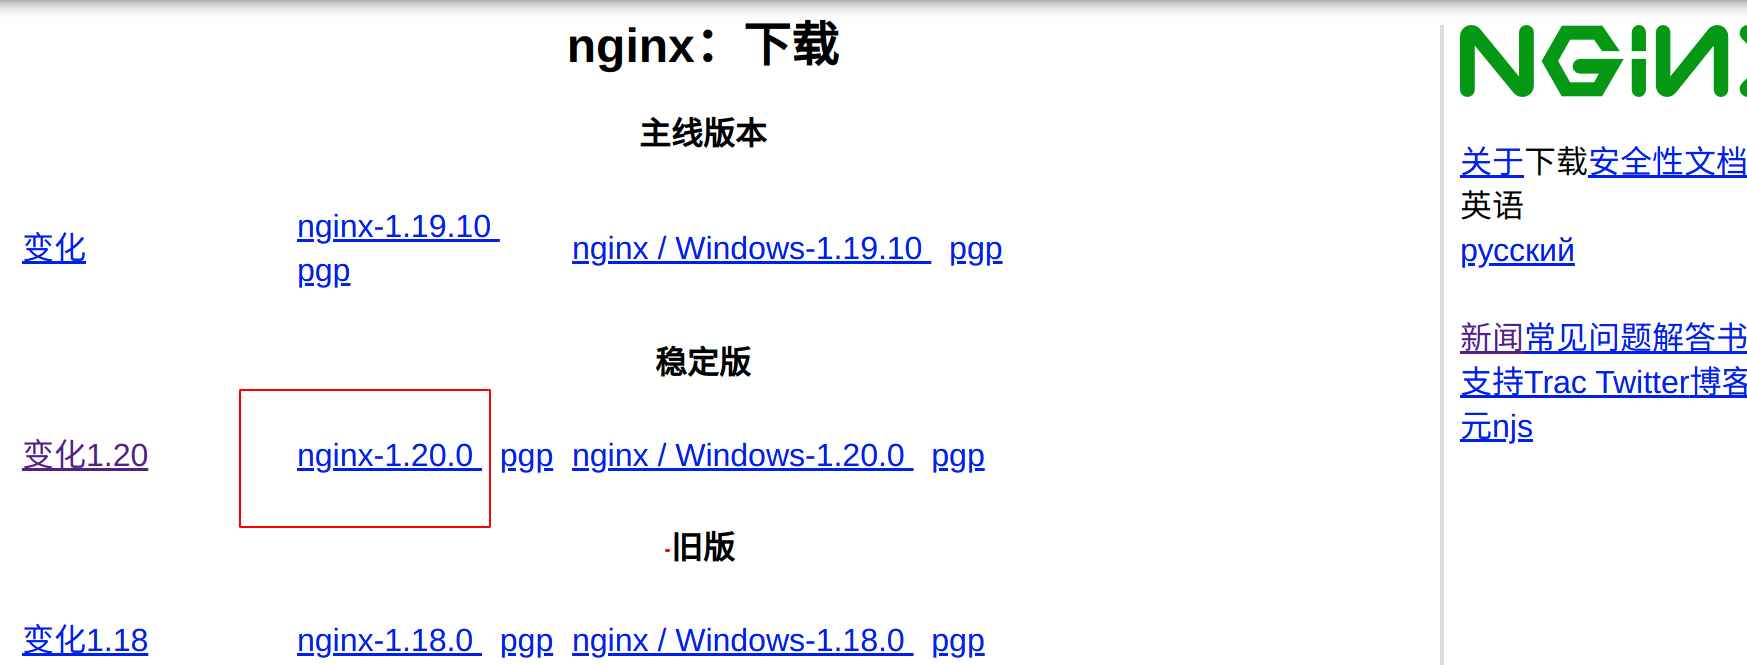
下載:http://nginx.org/en/download.html
-
安裝環境:
Ubuntu:
apt-get install gcc
apt-get install libpcre3 libpcre3-dev
apt-get install zlib1g zlib1g-dev
# Ubuntu14.04的倉庫中沒有發現openssl-dev,由下面openssl和libssl-dev替代
#apt-get install openssl openssl-dev
sudo apt-get install openssl
sudo apt-get install libssl-dev
CentOS:
yum -y install gcc pcre-devel zlib-devel openssl openssl-devel -
安裝
需要說明一下,我們一共需要執行三個命令,執行位置是根目錄, 我們安裝分別是:
解壓后,將目錄修改為別的目錄,然后再創建一個目錄nginx-1.20.0作為我們安裝的目錄。
#指定安裝目錄
./configure --prefix=/usr/local/nginx/nginx-1.20.0
#安裝
make
make install -
啟動
進行安裝目錄,即/usr/local/nginx/nginx-1.20.0下的sbin/下,執行:
./nginx
#nginx的關閉:
./nginx -s stop
./nginx -s quit#測試命令:
./nginx -t顯示以下,則代表成功:

END
- 配置nginx , nginx.conf修改為
#user  nobody;
worker_processes  1;

#error_log  logs/error.log;
#error_log  logs/error.log  notice;
#error_log  logs/error.log  info;

#pid        logs/nginx.pid;


events {
    worker_connections  1024;
}


http {
    include       mime.types;
    default_type  application/octet-stream;

    #log_format  main  '$remote_addr - $remote_user [$time_local] "$request" '
    #                  '$status $body_bytes_sent "$http_referer" '
    #                  '"$http_user_agent" "$http_x_forwarded_for"';

    #access_log  logs/access.log  main;

    sendfile        on;
    #tcp_nopush     on;

    #keepalive_timeout  0;
    keepalive_timeout  65;

    #gzip  on;
    upstream cluster{  #第三處配置
        server 127.0.0.1:3333;
    server 127.0.0.1:4444;
    server 127.0.0.1:5555;
    }
    server {
        listen       8888; #第一處配置
        server_name  localhost;

        #charset koi8-r;

        #access_log  logs/host.access.log  main;

        location / {
            #root   html;
            #index  index.html index.htm;
            proxy_pass http://cluster; #第二處配置
        }

        #error_page  404              /404.html;

        # redirect server error pages to the static page /50x.html
        #
        error_page   500 502 503 504  /50x.html;
        location = /50x.html {
            root   html;
        }

        # proxy the PHP scripts to Apache listening on 127.0.0.1:80
        #
        #location ~ \.php$ {
        #    proxy_pass   http://127.0.0.1;
        #}

        # pass the PHP scripts to FastCGI server listening on 127.0.0.1:9000
        #
        #location ~ \.php$ {
        #    root           html;
        #    fastcgi_pass   127.0.0.1:9000;
        #    fastcgi_index  index.php;
        #    fastcgi_param  SCRIPT_FILENAME  /scripts$fastcgi_script_name;
        #    include        fastcgi_params;
        #}

        # deny access to .htaccess files, if Apache's document root
        # concurs with nginx's one
        #
        #location ~ /\.ht {
        #    deny  all;
        #}
    }


    # another virtual host using mix of IP-, name-, and port-based configuration
    #
    #server {
    #    listen       8000;
    #    listen       somename:8080;
    #    server_name  somename  alias  another.alias;

    #    location / {
    #        root   html;
    #        index  index.html index.htm;
    #    }
    #}


    # HTTPS server
    #
    #server {
    #    listen       443 ssl;
    #    server_name  localhost;

    #    ssl_certificate      cert.pem;
    #    ssl_certificate_key  cert.key;

    #    ssl_session_cache    shared:SSL:1m;
    #    ssl_session_timeout  5m;

    #    ssl_ciphers  HIGH:!aNULL:!MD5;
    #    ssl_prefer_server_ciphers  on;

    #    location / {
    #        root   html;
    #        index  index.html index.htm;
    #    }
    #}

}
5)測試
如果上面已經按步驟啟動Nacos,nginx.則可以直接進行以下測試:
訪問nginx:http://127.0.0.1:8888/nacos/#/login
發現能可以進行nacos界面,登錄進去,指向的是mysql.即實現了: