https://linux.cn/article-11619-1.html
你是否曾經想過如何備份和還原 Ubuntu 或 Debian 系統?Timeshift 是一款自由開源工具,可讓你創建文件系統的增量快照。你可以使用 RSYNC 或 BTRFS 兩種方式創建快照。
讓我們深入研究並安裝 Timeshift。在本教程,我們將安裝在 Ubuntu 18.04 LTS 系統上。
在 Ubuntu / Debian Linux 上安裝 TimeShift
TimeShift 尚未正式托管在 Ubuntu 和 Debian 倉庫中。考慮到這一點,我們將運行以下命令來添加 PPA:
# add-apt-repository -y ppa:teejee2008/ppa

Add timeshift repository
接下來,使用以下命令更新系統軟件包:
# apt update
成功更新系統后,使用以下 apt 命令安裝 Timeshift:
# apt install timeshift

apt install timeshift
准備備份存儲設備
最佳實踐要求我們將系統快照保存在系統硬盤之外的單獨的存儲卷上。對於本指南,我們將使用 16GB 閃存作為第二個驅動器,並在該驅動器上保存快照。
# lsblk | grep sdb

lsblk sdb ubuntu
為了將閃存用作快照的備份位置,我們需要在設備上創建一個分區表。運行以下命令:
# parted /dev/sdb mklabel gpt# parted /dev/sdb mkpart primary 0% 100%# mkfs.ext4 /dev/sdb1

create partition table on drive ubuntu
在 USB 閃存上創建分區表后,我們可以開始創建文件系統的快照!
使用 Timeshift 創建快照
要啟動 Timeshift,使用應用程序菜單搜索 “Timeshift”。

Access timeshift
單擊 Timeshift 圖標,系統將提示你輸入管理員密碼。提供密碼,然后單擊驗證。

Authentication required
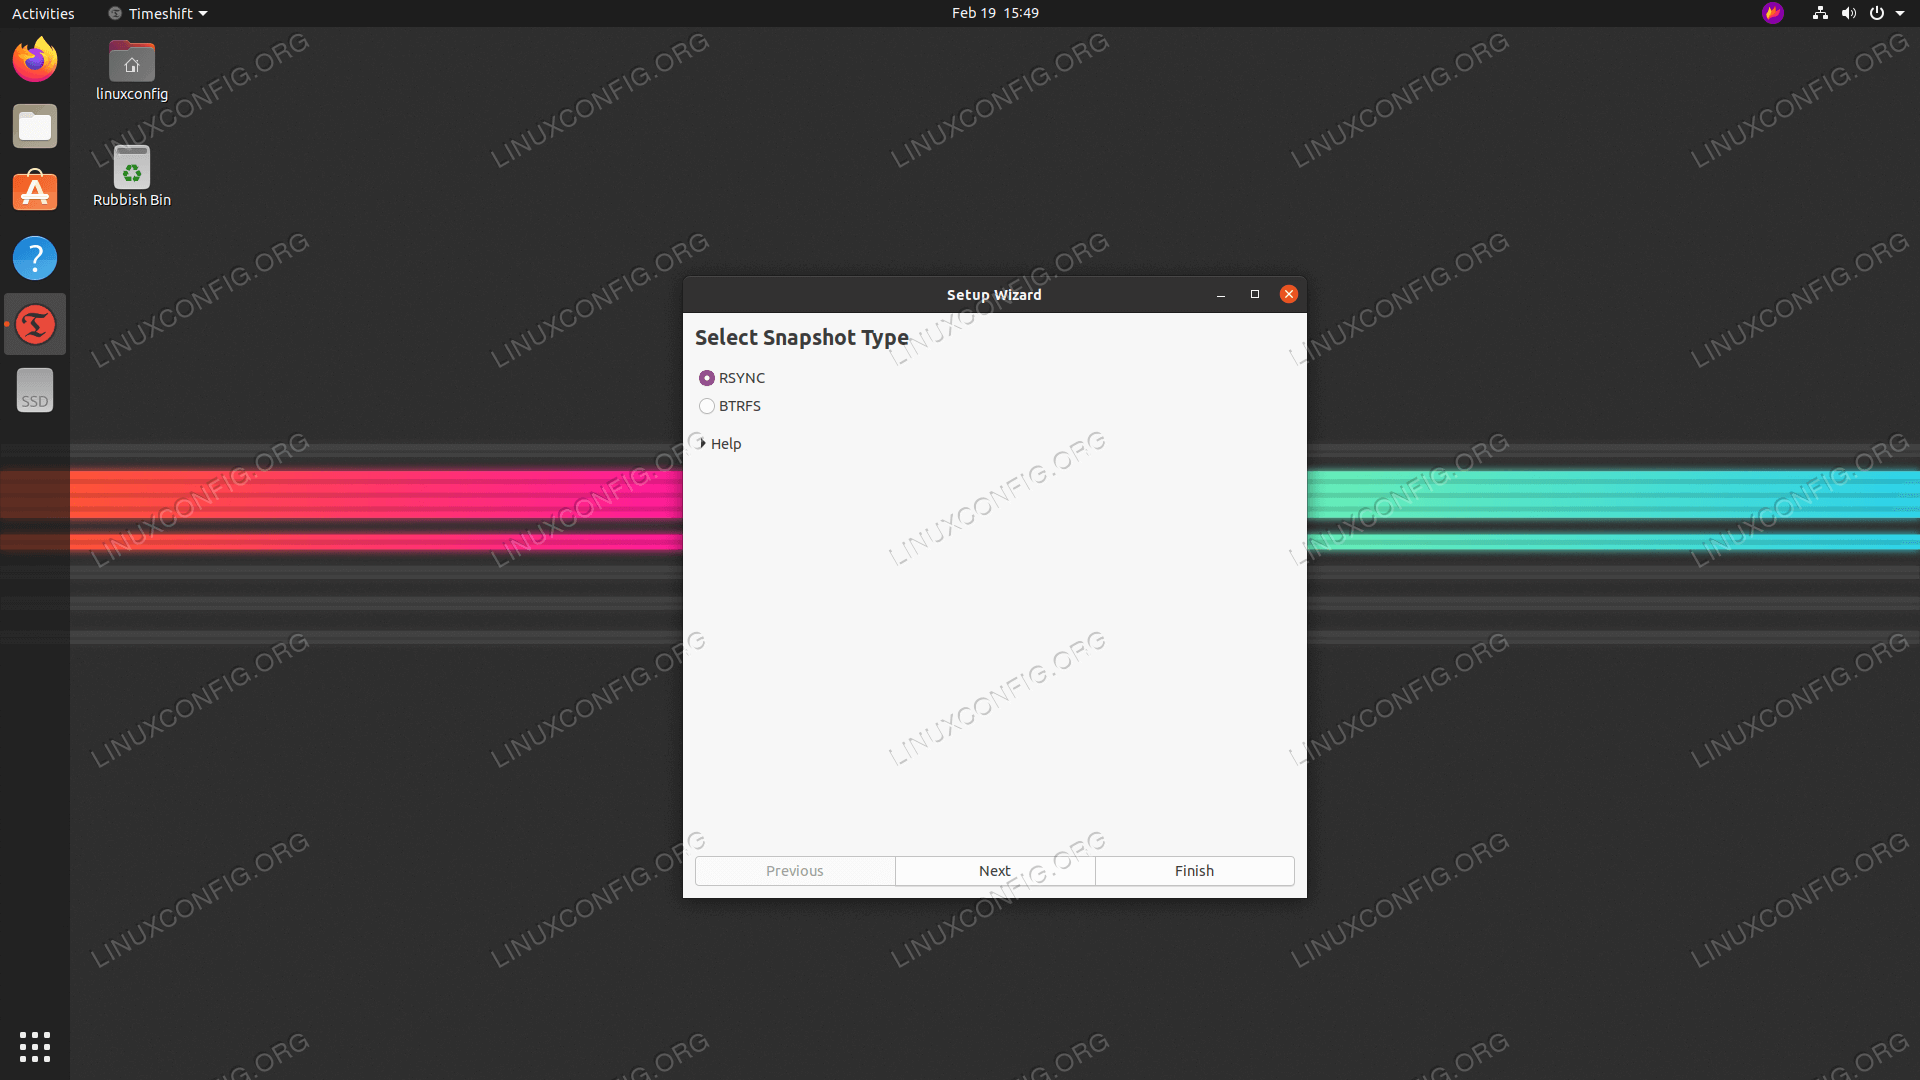
接下來,選擇你喜歡的快照類型。

Select rsync option
點擊 “Next”。選擇快照的目標驅動器。在這里,我的位置是標記為 /dev/sdb 的外部 USB 驅動器。

Select snapshot location
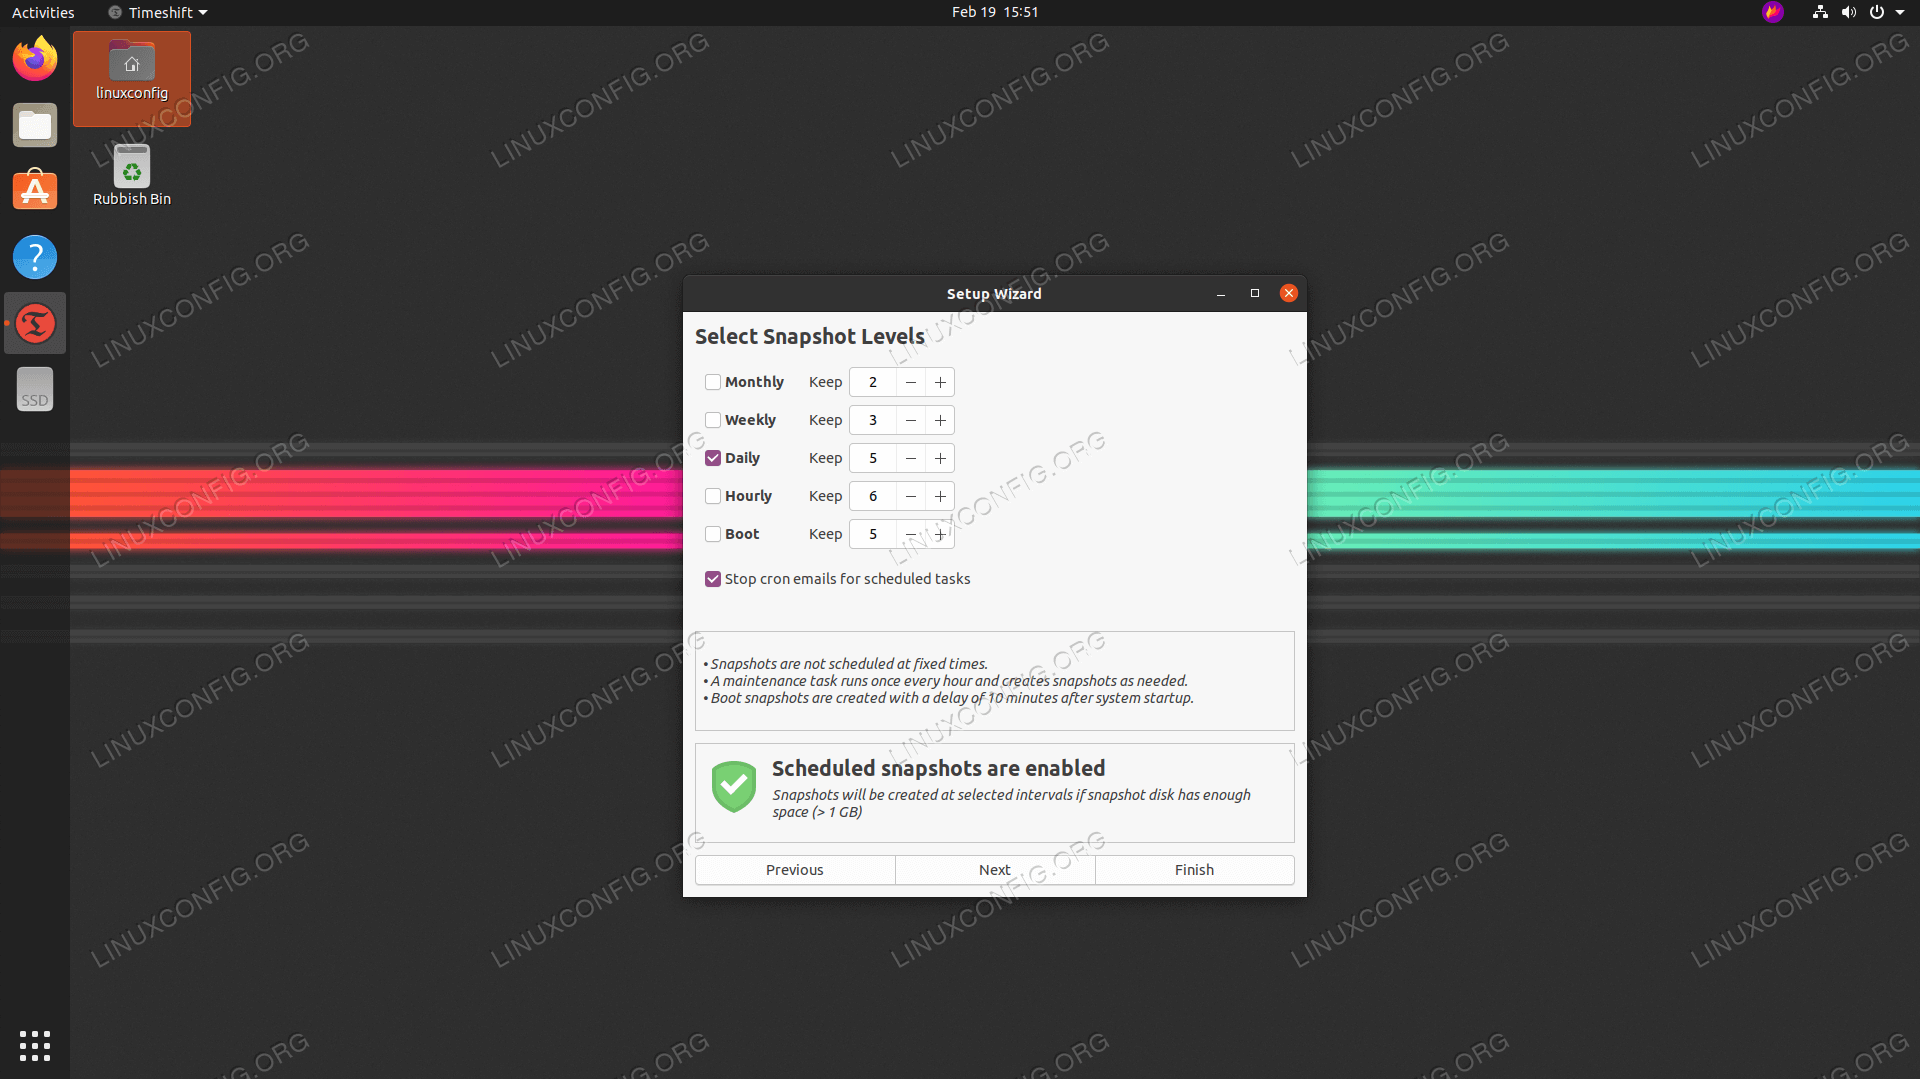
接下來,定義快照級別。級別是指創建快照的時間間隔。你可以選擇每月、每周、每天或每小時的快照級別。

Select snapshot levels
點擊 “Finish”。
在下一個窗口中,單擊 “Create” 按鈕開始創建快照。此后,系統將開始創建快照。

Create snapshot
最后,你的快照將顯示如下:

Snapshot created
從快照還原 Ubuntu / Debian
創建系統快照后,現在讓我們看看如何從同一快照還原系統。在同一個 Timeshift 中,單擊快照,然后單擊 “Restore” 按鈕,如圖所示。

Restore snapshot
接下來,將提示你選擇目標設備。保留默認選擇,然后點擊 “Next”。

Select target device
恢復過程開始之前,Timeshift 將會試運行。

Comparing files dry run
在下一個窗口中,點擊 “Next” 按鈕確認顯示的操作。

Confirm actions
如圖所示,你會看到警告和免責聲明。點擊 “Next” 初始化恢復過程。
此后,將開始還原過程,最后,系統之后將重新啟動到快照定義的早期版本。

Restoring snapshot
總結
如你所見,使用 TimeShift 從快照還原系統非常容易。在備份系統文件時,它非常方便,並允許你在系統故障時進行恢復。因此,不要害怕修改系統或弄亂系統。TimeShift 使你能夠返回到一切運行平穩的時間點。
https://www.linuxtechi.com/timeshift-backup-restore-ubuntu-linux/
https://linuxconfig.org/ubuntu-20-04-system-backup-and-restore
In this tutorial we will use Timeshift to create the full system backup snapshot of Ubuntu 20.04 system. Furthermore, you will learn how to restore from your previously created backup snapshot.
In this tutorial you will learn:
- How to create full system backup snapshot
- How to restore from backup snapshot
- How to create and restore backup from the command line
Software Requirements and Conventions Used
| Category | Requirements, Conventions or Software Version Used |
|---|---|
| System | Installed Ubuntu 20.04 or upgraded Ubuntu 20.04 Focal Fossa |
| Software | timeshift |
| Other | Privileged access to your Linux system as root or via the sudo command. |
| Conventions | # - requires given linux commands to be executed with root privileges either directly as a root user or by use of sudo command$ - requires given linux commands to be executed as a regular non-privileged user |
Ubuntu 20.04 System Backup and Restore step by step instructions
Using the following steps we will first create system backup of the Ubuntu 20.04 system using the Timeshift graphical user interface. Later we will restore from the previously created system backup snapshot.
First step is to install the Timeshift backup utility on your Ubuntu 20.04 System. To do this execute the following command:
$ sudo apt install timeshift
Create Backup by using the Timeshift GUI
Create system backup
- Open the
timeshiftapplication via top leftActivitiesmenu. Upon opening the
timeshiftapplication you will be greeted with a wizard to help you schedule your backups. Here you have two options. First is to use thersyncas a main backup tool or take an advantage of an inherent BRTFS built-in file system features. In this example we will usersync. SelectRSYNCand hit theNextbutton.
SUBSCRIBE NEWSLETTER & RSS
Subscribe to RSS and NEWSLETTER and receive latest Linux news, jobs, career advice and tutorials.
 Select backup destination.
timeshiftwill search your system for available file-system partition and provide you with an option to where to create backup file.
 Select how often you wish to perform the system backup and how many backup snapshots you wish to retrain before the first backup is overwritten.
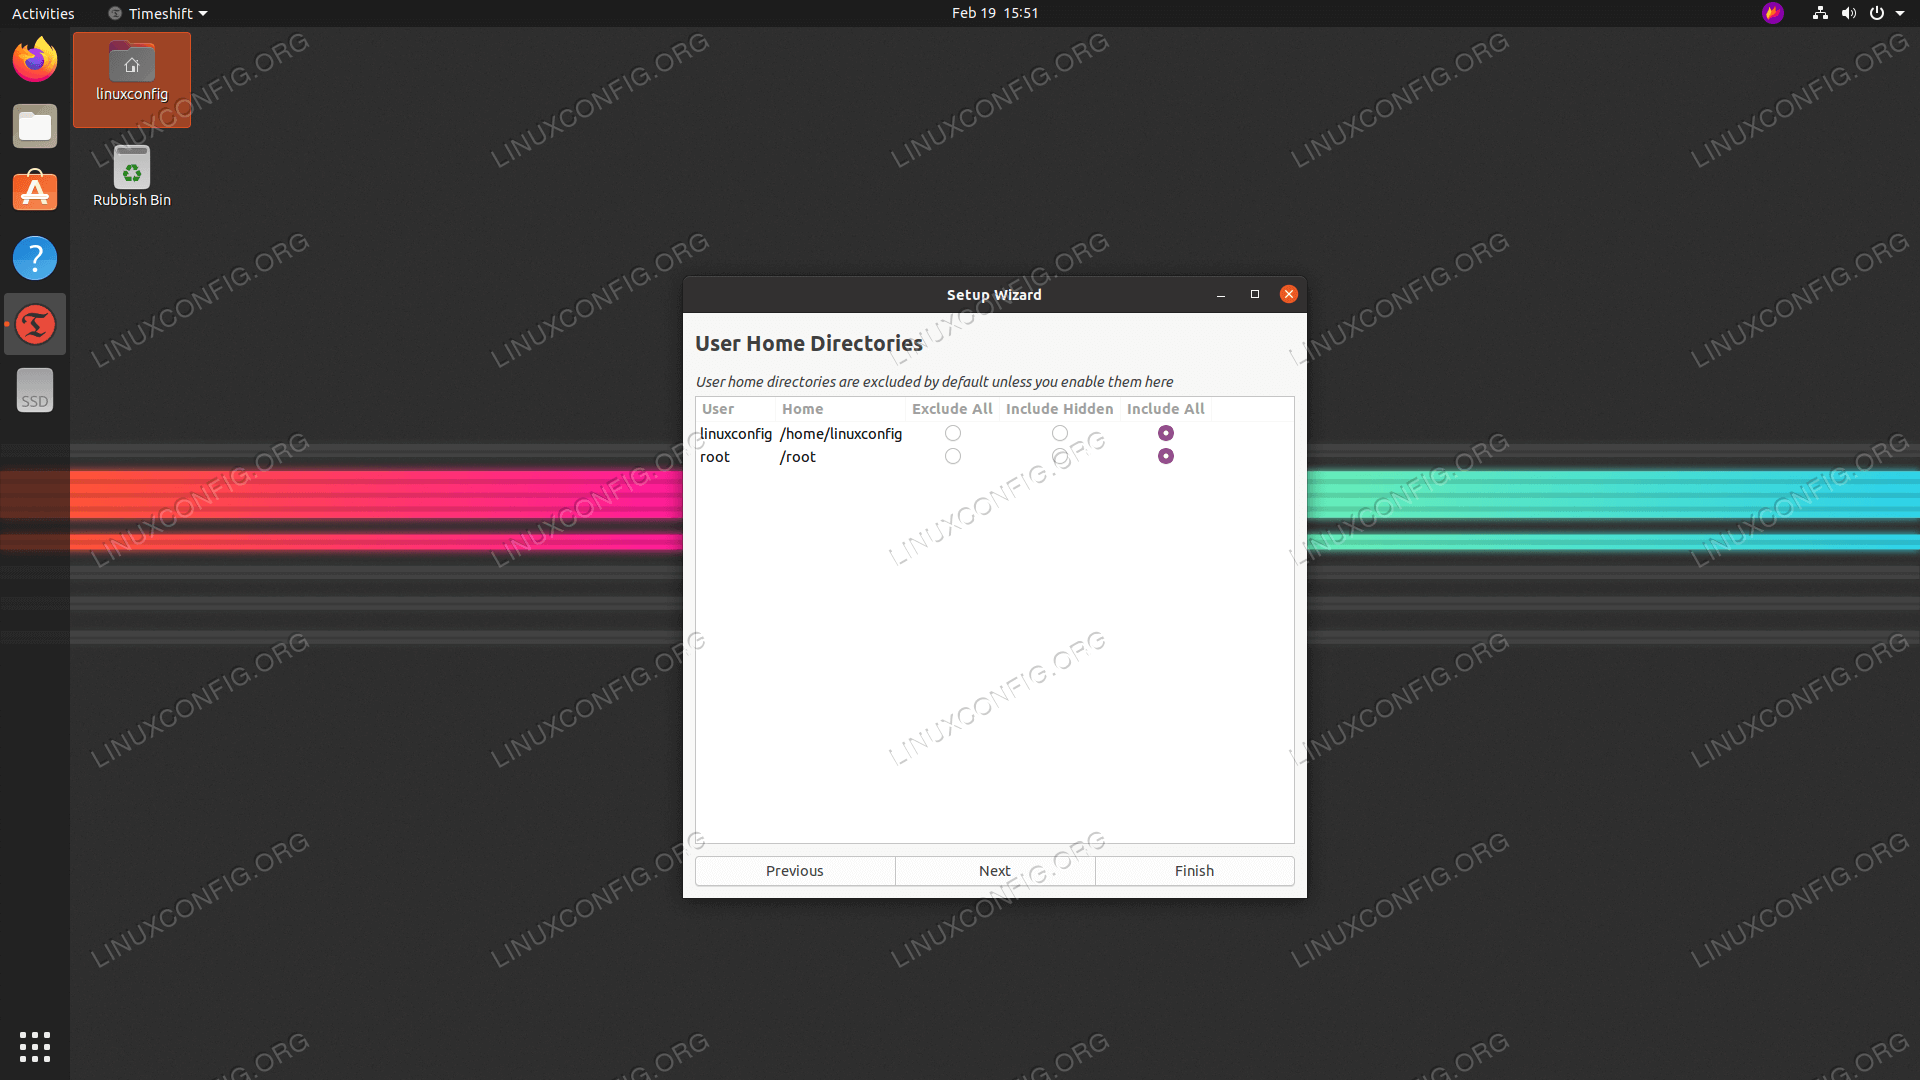
 As the screenshot indicates the home directories are excluded by default. Depending on you work environment select whether you wish to include home directories into the backup.

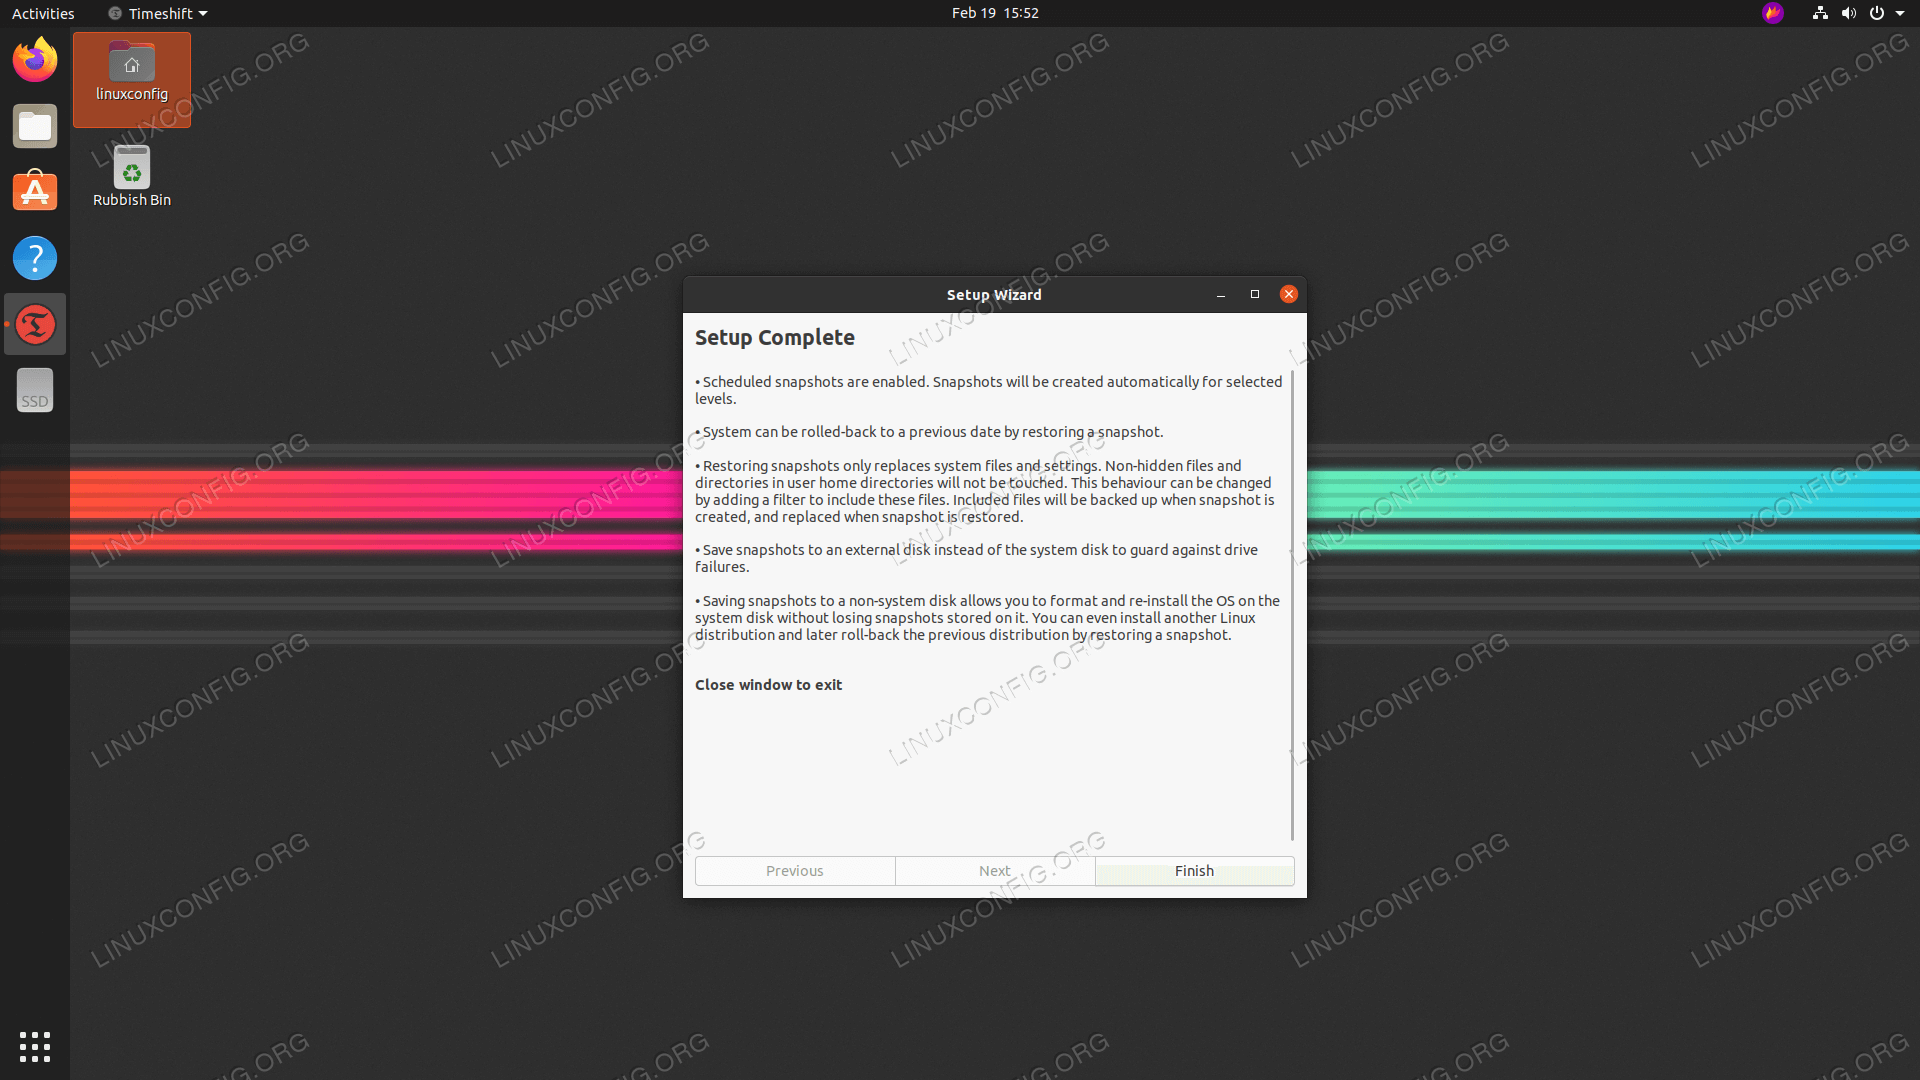
 This will conclude your initial backup schedule setup. Hit the
Finishbutton.
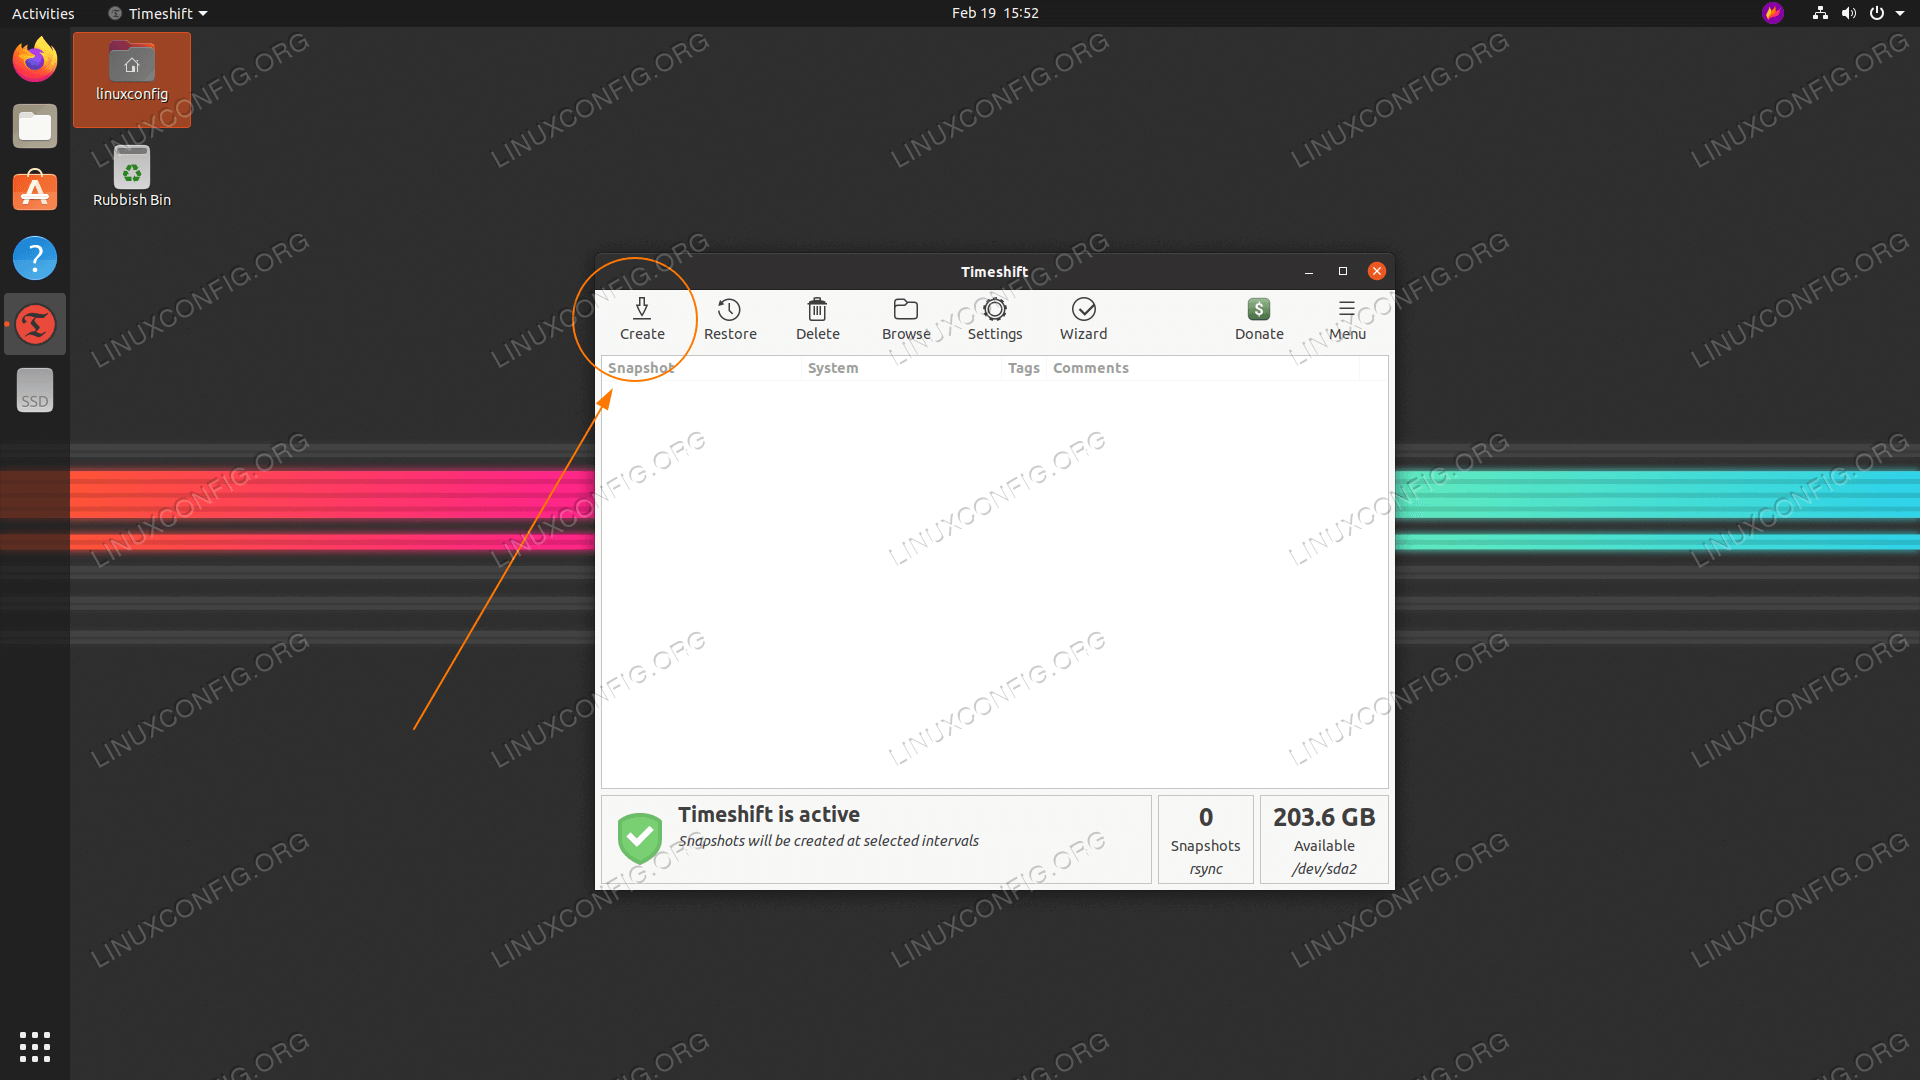
 The backup has not been created yet. You can either wait until the
timeshiftautomatically triggers the backup or simply hit theCreatebutton to perform the previously predefined backup now.
 Wait for the backup to complete.

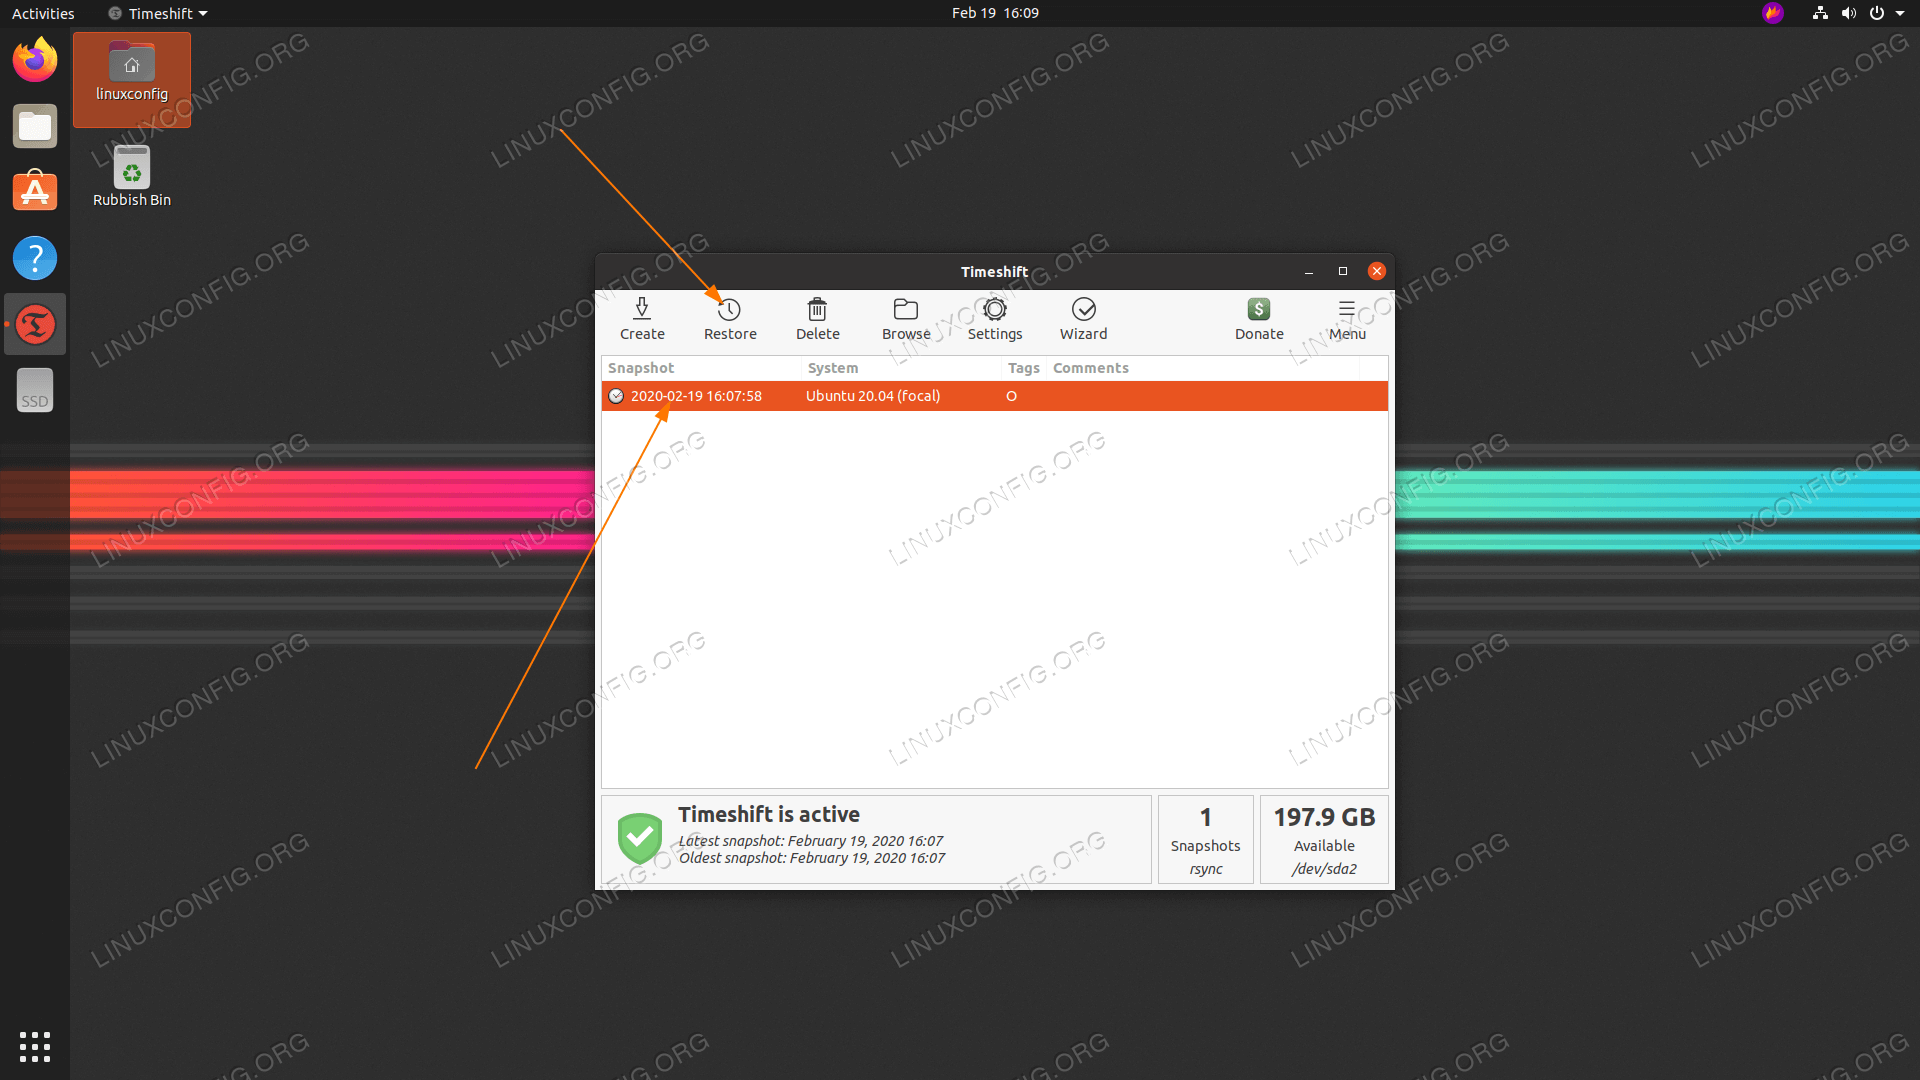
 If all went well you should now see your first backup snapshot listed.

Restore from backup
 At this point we will restore the system from the previously created system backup snapshot. Select a backup snapshot from which you wish to restore and click on the
Restorebutton.
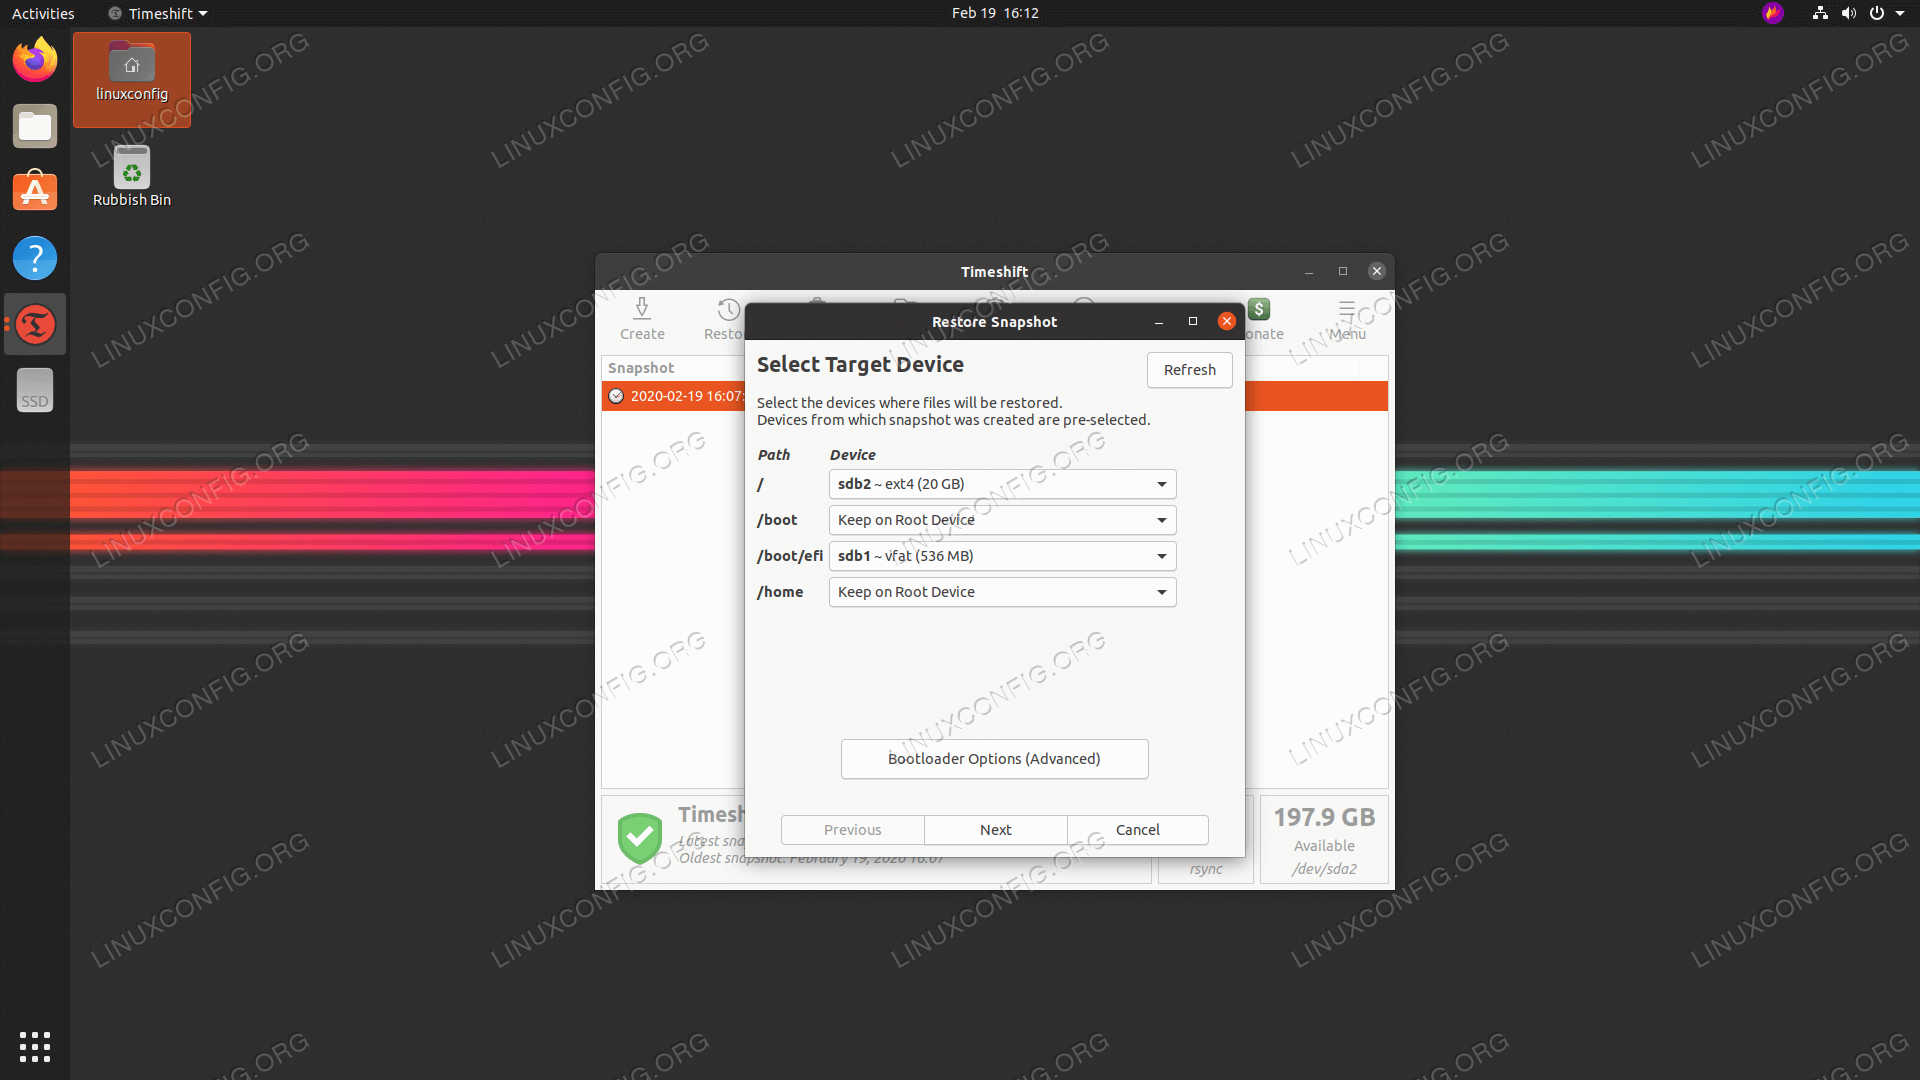
Next button to go with the default.
Subscribe to RSS and NEWSLETTER and receive latest Linux news, jobs, career advice and tutorials.
 The Timeshit will provide you with a list of changes it will take to restore from the backup just to make sure no data is lost in the process.
 Once you hit the
Nextbutton the system will be restored and restarted. All done.


Create and restore backup by using the Timeshift's command line
- Create a first backup simply by executing the below command:
$ sudo timeshift --create
First run mode (config file not found)
Selected default snapshot type: RSYNC
Mounted /dev/sda2 at /media/root/359151f5-efb9-483d-a738-894d57e2d8c8.
Selected default snapshot device: /dev/sda2
------------------------------------------------------------------------------
Estimating system size...
Creating new snapshot...(RSYNC)
Saving to device: /dev/sda2, mounted at path: /media/root/359151f5-efb9-483d-a738-894d57e2d8c8
Synching files with rsync...
Created control file: /media/root/359151f5-efb9-483d-a738-894d57e2d8c8/timeshift/snapshots/2020-02-19_18-32-36/info.json
RSYNC Snapshot saved successfully (39s)
Tagged snapshot '2020-02-19_18-32-36': ondemand
The above command will also create a new configuration file located at the following location:/etc/timeshift.json.
- List all your currently created system backup screenshots:
$ sudo timeshift --list
Device : /dev/sda2
UUID   : 359151f5-efb9-483d-a738-894d57e2d8c8
Path   : /media/root/359151f5-efb9-483d-a738-894d57e2d8c8
Mode   : RSYNC
Device is OK
1 snapshots, 197.7 GB free

Num     Name                 Tags  Description
------------------------------------------------------------------------------
0    >  2020-02-19_18-32-36  O
- Restore from the backup snapshot:
$ sudo timeshift --restore --snapshot "2020-02-19_18-32-36"
- Delete selected backup snapshot:
$ sudo timeshift --delete --snapshot '2014-10-12_16-29-08'