QML 開發客戶端應用,避不可免要進行界面切換,例如從登錄界面跳轉到主界面。網上看了下多篇博客,都比較簡陋不是很詳細,不太好進行參考,所以決定自己參考這些博客,總結一下幾種界面切換的方法。
先看下效果:
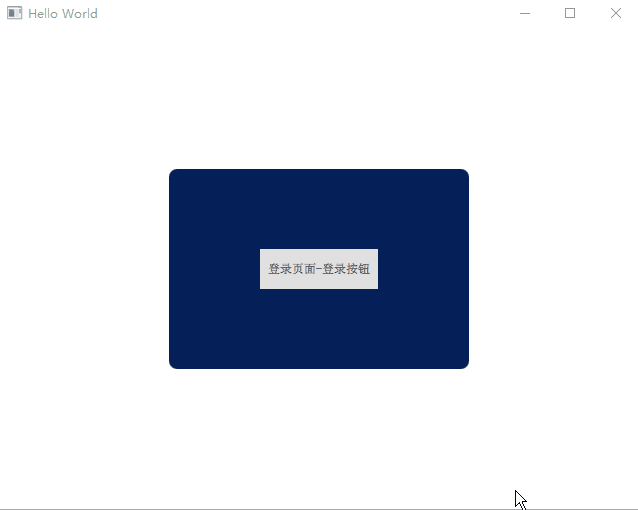
靜態
一、隱藏法
本質上各頁面都存在,只是某些隱藏,某些顯示,當某一觸發條件滿足時,設置對應頁面的顯示和隱藏。
main.qml
------------------------------------
import QtQuick 2.9
import QtQuick.Window 2.2

Window {
    visible: true
    width: 640
    height: 480
    title: qsTr("Hello World")

    // 主頁面一開始設置"隱藏",登錄成功后才顯示
    MainPage {
        id: mainPage
        width: 500
        height: 350
        visible: false // 設置"隱藏"
        anchors.centerIn: parent
    }

    LoginPage {
        id: loginPage
        width: 300
        height: 200
        anchors.centerIn: parent
    }
}

LoginPage.qml
------------------------------------
import QtQuick 2.0
import QtQuick.Controls 2.3

Rectangle {
    width: 400
    height: 300
    color: "#051f58"
    radius: 8

    Button {
        text: "登錄頁面-登錄按鈕"
        anchors.centerIn: parent
        onClicked: {
            loginPage.visible = false
            mainPage.visible = true
        }
    }
}

MainPage.qml
------------------------------------
import QtQuick 2.0
import QtQuick.Controls 2.3

Rectangle {
    color: "#498ff8"
    radius: 8

    Button {
        text: "主頁面-返回按鈕"
        anchors.centerIn: parent
        onClicked: {
            loginPage.visible = true
            mainPage.visible = false
        }
    }
}
二、利用 StackView、SwipeView
動態
一、使用Loader動態加載QML組件
Loader 元素用來動態加載可見的 QML 組件,它可以加載一個 QML 文件(使用 source 屬性)或者一個組件對象(使用 sourceComponent 屬性)。
代碼如下:
main.qml
------------------------------------
import QtQuick 2.9
import QtQuick.Window 2.2

Window {
    visible: true
    width: 640
    height: 480
    title: qsTr("Hello World")

    // 1. Loader加載不同組件,實現切換頁面的功能
    Loader{
        id:myLoader
        anchors.centerIn: parent // 彈出的界面都居中顯示
    }
    Component.onCompleted: myLoader.sourceComponent = loginPage // 一開始顯示登錄頁面

    // 2. 登錄頁面-Component
    Component{
        id:loginPage
        LoginPage {
            width: 300
            height: 200
            anchors.centerIn: parent
        }
    }

    // 3.主頁面-Component
    Component{
        id:mainPage
        MainPage {
            width: 500
            height: 350
            anchors.centerIn: parent
        }
    }
}

LoginPage.qml
------------------------------------
import QtQuick 2.0
import QtQuick.Controls 2.3

Rectangle {
    width: 400
    height: 300
    color: "#051f58"
    radius: 8

    Button {
        text: "登錄頁面-登錄按鈕"
        anchors.centerIn: parent
        onClicked: myLoader.sourceComponent = mainPage // 切換顯示主頁面
    }
}

MainPage.qml
------------------------------------
import QtQuick 2.0
import QtQuick.Controls 2.3

Rectangle {
    color: "#498ff8"
    radius: 8

    Button {
        text: "主頁面-返回按鈕"
        anchors.centerIn: parent
        onClicked: myLoader.sourceComponent = loginPage // 切換顯示登錄頁面
    }
}
二、利用 createComponent 創建並切換
main.qml
------------------------------------
import QtQuick 2.9
import QtQuick.Window 2.2

Window {
    id: mainWin
    visible: true
    width: 640
    height: 480
    title: qsTr("Hello World")

    LoginPage {
        width: 300
        height: 200
        anchors.centerIn: parent
    }
}

LoginPage.qml
------------------------------------
import QtQuick 2.0
import QtQuick.Controls 2.3

Rectangle {
    id: loginPage
    width: 400
    height: 300
    color: "#051f58"
    radius: 8
    clip:true

    Button {
        text: "登錄頁面-登錄按鈕"
        anchors.centerIn: parent
        onClicked: {
            // 隱藏登錄頁面
            loginPage.visible = false // 不能銷毀,否則下面的"主頁面"也會跟隨銷毀,則后面
            // 點擊"主頁面-關閉按鈕",將無法銷毀關閉"主頁面"

            // 在主窗口(mainWin)上顯示主頁面
            var compMainPage = Qt.createComponent("MainPage.qml")
            .createObject(mainWin, {x:50, y:50, width:200, height:250});
        }
    }
}

MainPage.qml
------------------------------------
import QtQuick 2.0
import QtQuick.Controls 2.3

Rectangle {
    id: mainPage
    color: "#498ff8"
    radius: 8

    Button {
        text: "主頁面-關閉按鈕"
        anchors.centerIn: parent
        onClicked: {
            // 銷毀關閉主頁面
            mainPage.destroy()
        }
    }
}
使用compLogin.destroy()來銷毀登錄頁面以達到關閉的效果,同時節省內存。
使用場景分析
如果想記錄上一頁的操作,可以使用靜態的方式,比如設置用戶名的頁面,切換到下一頁,但也可能返回到上一頁。
如果想每次進入頁面時,一切從新開始,不想記錄任何信息,則使用動態方式。比如登錄類切換,登錄后一切都應該從新開始。
參考:
QtQuick多頁面切換、多頁面切換動畫、多個qml文件數據交互