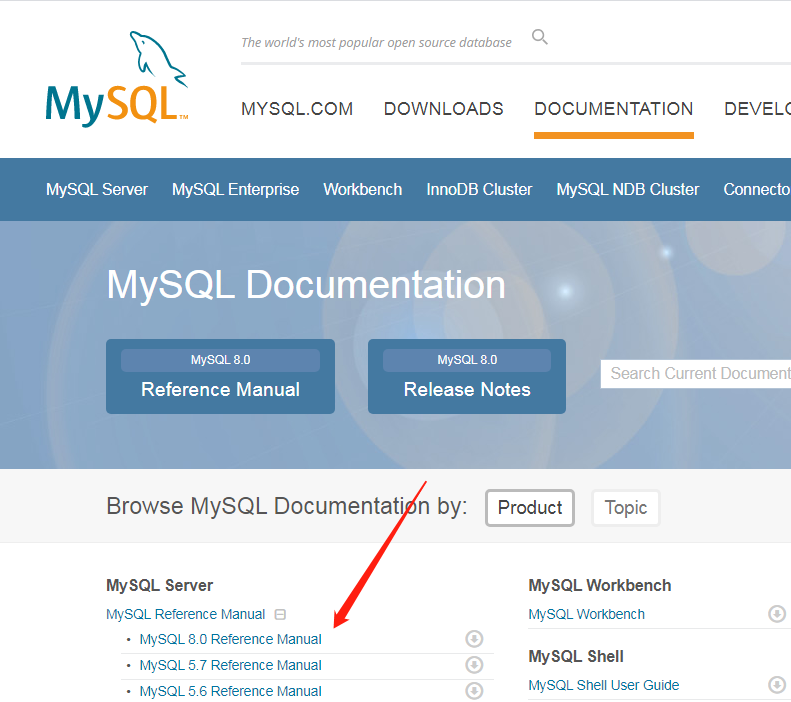
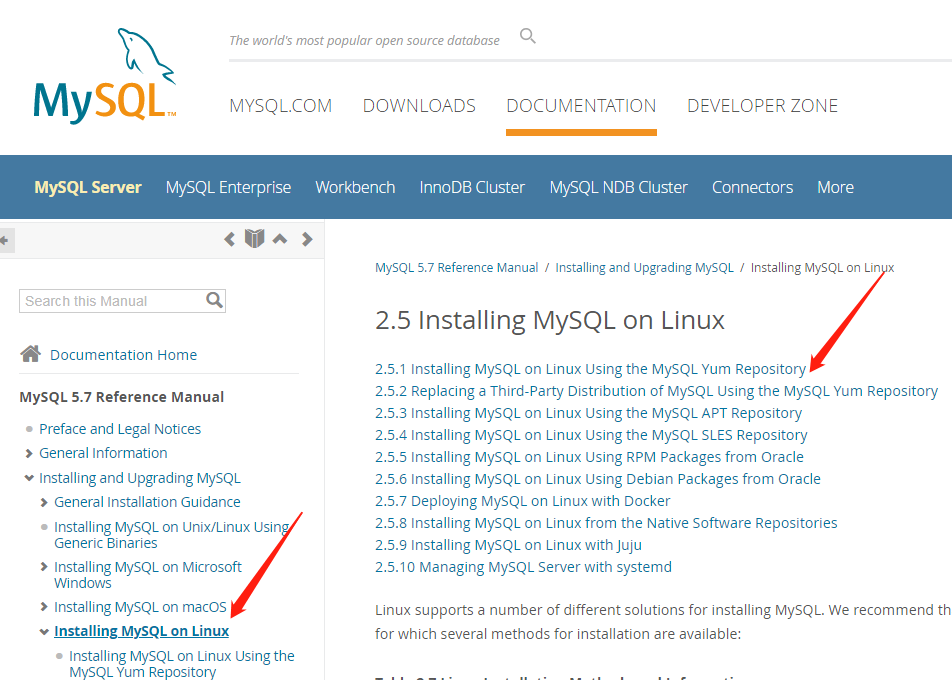
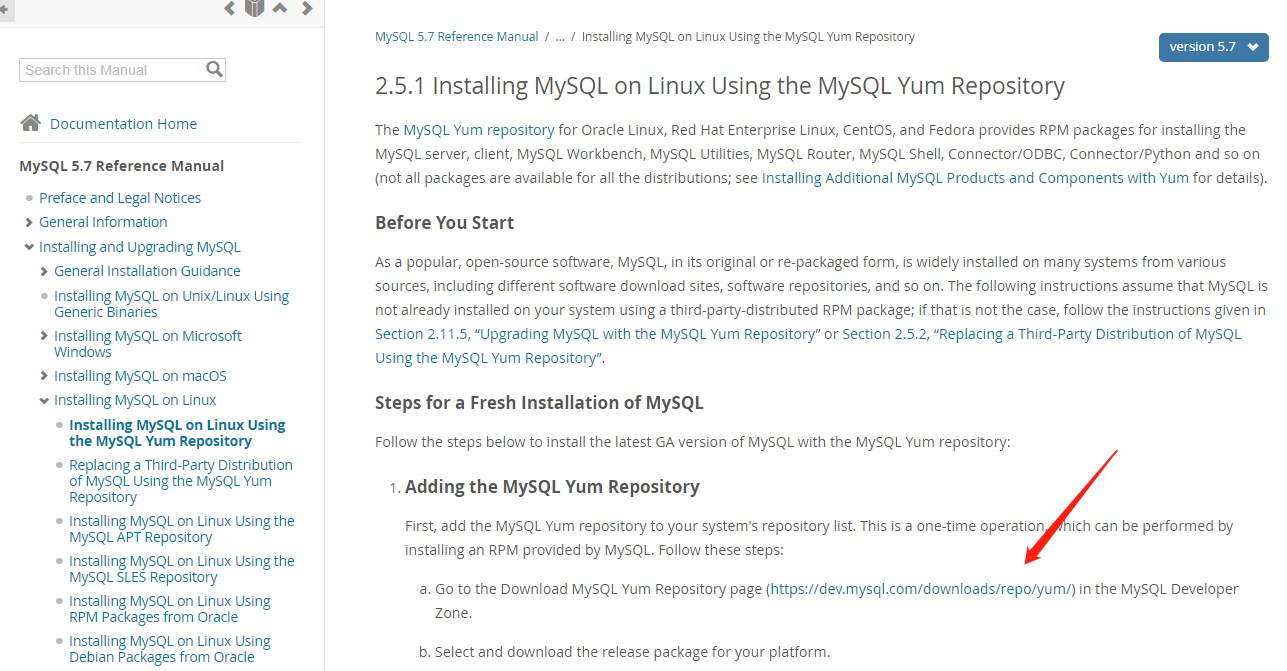
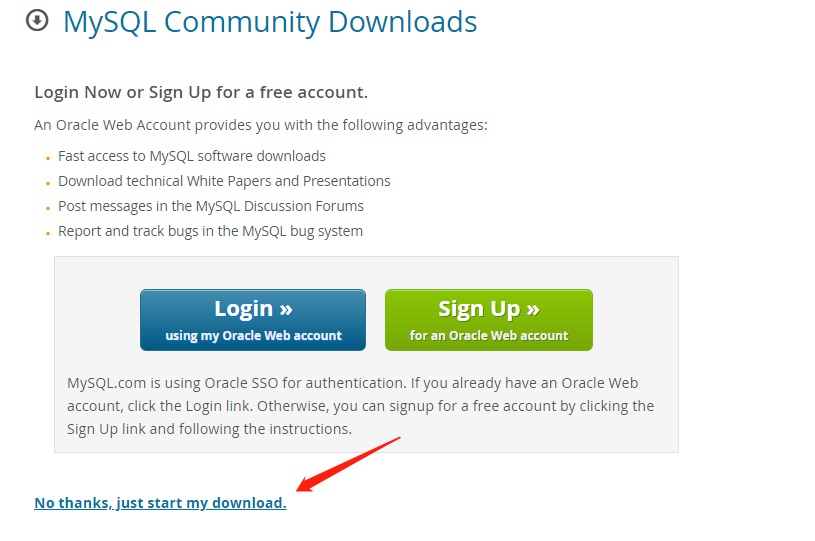
首先進入MySQL官網下載rpm安裝包
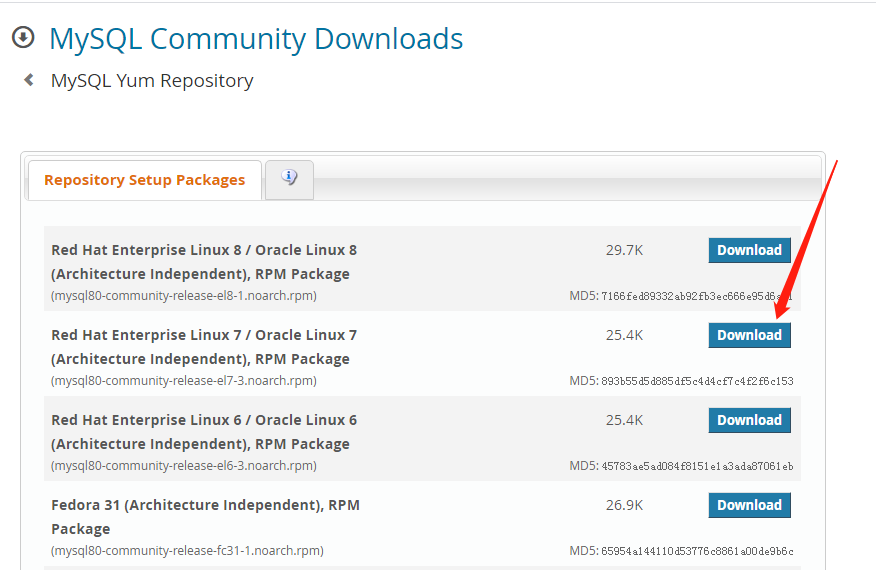
用yum install mysql80-community-release-el7-3.noarch.rpm 安裝
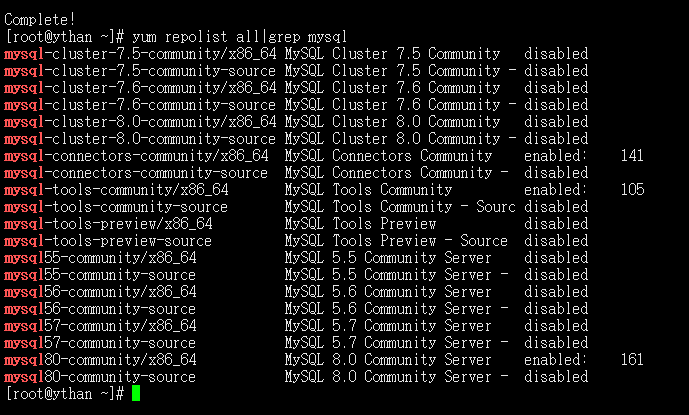
yum repolist all|grep mysql可以看到倉庫默認開啟的是8.0,
yum install yum-utils –y 安裝yum工具
我們要安裝的是5.7
yum-config-manager --disable mysql80-community關閉8.0版本
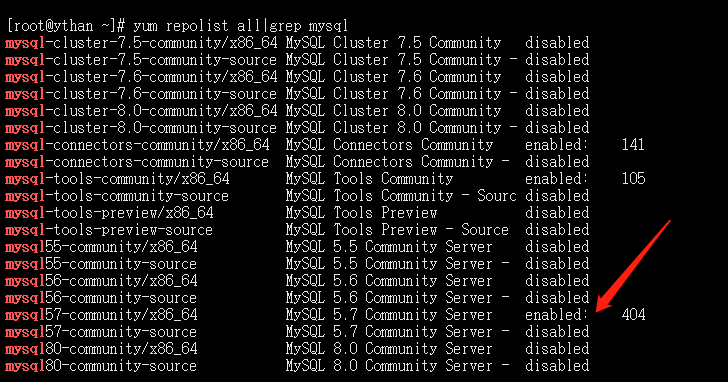
yum-config-manager --enable mysql57-community開啟5.7版本
yum install mysql-community-server –y安裝
systemctl start mysqld啟動
systemctl status mysqld查看狀態
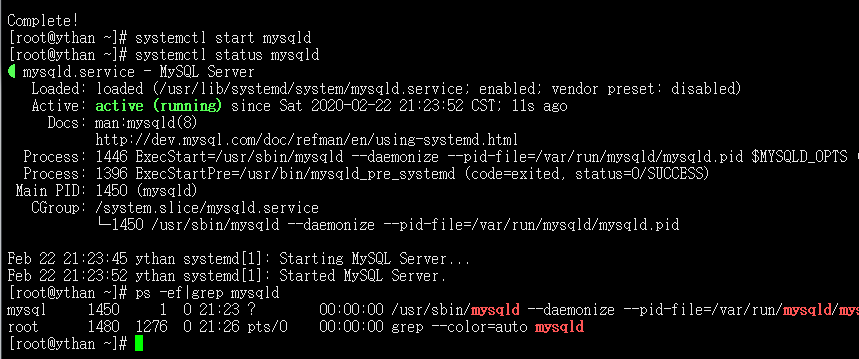
ps -ef|grep mysqld查看進程
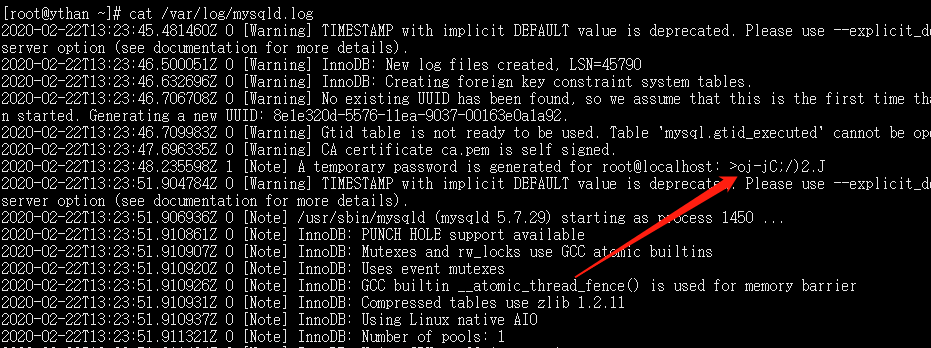
cat /var/log/mysqld.log查看數據庫默認密碼
登錄改密碼
mysql –uroot –p**
alter user 'root'@'localhost' indentified by '**';
創建數據庫
create database wordpress;
查看數據庫
show databases;
查看用戶權限
select user,host from mysql.user;
create user 'wordpress'@'%' identified by '
grant all privileges on wordpress.* to 'wordpress'@'%';給用戶權限
遠程訪問數據庫成功。
