根據千峰教育學習視頻所練習的筆記 | 學習一段時間,我也有寫一點東西的必要了···
vue中除了父子組件外,還能遇到非父子組件的通信,有以下兩種方法能解決。
1. 空實例與自定義事件
- 我先在
<div>里面寫兩個組件,<dear-feifei>和<dear-zhangliuping>,這兩個組件就是非父子組件的關系。現在我想在在<dear-zhangliuping>進行了一些操作,怎樣能將數據傳入到<dear-feifei>當中。
1.1. 先來康康大致的代碼:
<!DOCTYPE html>
<html lang="en">
<head>
    <meta charset="UTF-8">
    <title>vue 非父子組件通信</title>
    <script src="../vue.js"></script>
</head>
<body>
<div id="app">
    <dear-feifei></dear-feifei>
    <dear-zhangliuping></dear-zhangliuping>
</div>
<script>
    var vm = new Vue({
        el:'#app',
        components:{
            'dear-feifei':{
                template:'<h2>{{message}}</h2>',
                data:function () {
                    return{
                        message:'hello feifei'
                    };
                },
            },
            'dear-zhangliuping':{
                template:'<ul><li v-for="item in list">{{item}}</li></ul>',
                data:function () {
                    return{
                        list:['哈哈','呵呵','吼吼']
                    };
                },
            }
        }
    });
</script>
</body>
</html>
1.2. 接着我們來看如何來交互
- 我需要到
<dear-zhangliuping>組件中添加一個事件:
template:'<ul><li @click="getContent" v-for="item in list">{{item}}</li></ul>',
- 然后我們到下邊寫個methods添加剛才寫的 getContent 方法。我們要用這個方法得到內容,並想辦法傳入到
<dear-feifei>里面。我們還需在開頭創建一個空實例,就可以調用這個實例的 $emit 添加自定義事件來進行觸發
var busVm = new Vue(); //定義空實例
<script>
······
'dear-zhangliuping':{
    template:'<ul><li @click="getContent" v-for="item in list">{{item}}</li></ul>',
    data:function () {
        return{
            list:['哈哈','呵呵','吼吼']
        };
    },
    methods:{
        getContent:function (ev) {
            busVm.$emit('changeEvents',ev.target.innerHTML);
        }
    }
    ······
</script>
1.3. 現在已經可以發布了,但我們怎么在另一個組件里訂閱呢?
- 我們可以在
<dear-feifei>里面通過生命周期進行訂閱,用mounted。在里面用 $on 來接收事件。
<script>
'dear-feifei':{
    template:'<h2>{{message}}</h2>',
    data:function () {
        return{
            message:'hello feifei'
        };
    },
    mounted:function () {//用於接收分發過來的數據
        busVm.$on('changeEvents',function (str) {
            console.log(str);
        });
    }
},
</script>
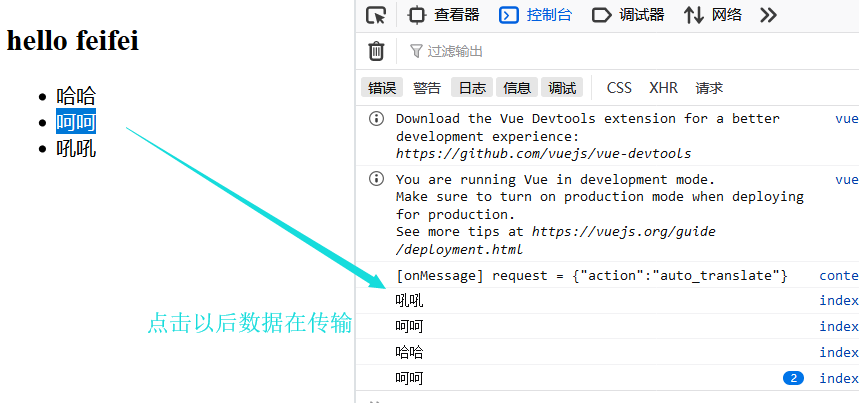
- 現在點擊 list 里的內容,就能看到數據能傳輸了:
- 我們如何對 message 進行修改
mounted:function () {
    busVm.$on('changeEvents',function (str) {
        console.log(str);
        this.message = str;
        <!-- this 指向busVM這個對象,要去修正,以指向dear-feifei -->
    }.bind(this));//綁定以后就指向dear-feifei了
}
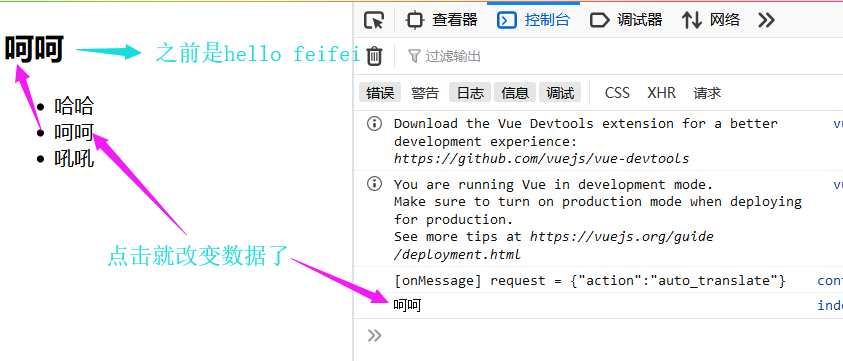
- 這樣就完成了非父子組件通信
1.4. 總結:
- 我們先定義一個空實例,然后在想要傳輸數據的位置進行一個 $emit 觸發
- 在想要接收的位置,用 $on 的方式進行接收,形成一個發布與訂閱的模式,來實現數據的交互,就完成了非父子組件的通信
2. vuex 狀態管理
上面的方法能解決簡單的項目,但稍微復雜一點的項目我們就用vuex的方法了
- 我先在
<div>容器里寫兩個組件
<div id="app">
    <div>{{count}}</div>
    <addbtn></addbtn>
    <removebtn></removebtn>
</div>
<script>
    var busVm = new Vue();
    var vm = new Vue({
        el:'#app',
        data:{
            count:0
        },
        components:{
            'addbtn':{
                template:'<button >+</button>',
            },
            'removebtn':{
                template:'<button >-</button>',
            }
        }
    });
</script>

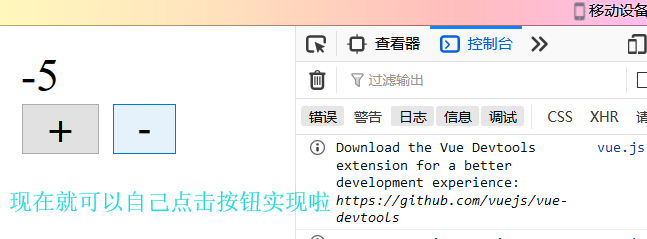
2.1. 渲染結果就是上圖這樣子的啦,現在我想通過點擊按鈕來實現加減的處理
- 可以發現這兩個組件是共享這個 count,這個時候就涉及到非父子組件的通信了。我可以利用 props 傳輸數據,然后在組件里掛載,使數據既可以傳到 addbtn 中又能傳到 removebtn 這兩個組件中。然后再去 props 中接收 key 值
<div id="app">
    <addbtn :count="count"></addbtn>
    <removebtn :count="count"></removebtn>
</div>
<script>
components:{
    ·····
    'addbtn':{
        template:'<button >+</button>',
        props:['count'],
</script>
2.2. 那我可以添加一個方法到組件中,使得點擊的時候觸發一下,接着把發布功能完善
<script>
    ······
        components:{
            'addbtn':{
                template:'<button @click="setCount">+</button>',
                props:['count'],
                methods:{
                    setCount:function () {
                        busVm.$emit('changeEvents',this.count+1);
                    }
                }
            },
            'removebtn':{
                template:'<button @click="setCount">-</button>',
                props:['count'],
                methods:{
                    setCount:function () {
                        busVm.$emit('changeEvents',this.count-1);
                    }
                }
            }
        }
    });
</script>
2.3. 發布已經寫好了,我們還是用 mounted 進行訂閱
var busVm = new Vue(); //定義空實例
    var vm = new Vue({
        el:'#app',
        data:{
            count:0
        },
        mounted:function(){
            busVm.$on('changeEvents',function (num) {
                this.count = num;
            }.bind(this));
        },
- 現在就已經完成了