簡介
Docker容器應用的開發和運行離不開可靠的鏡像管理,雖然Docker官方也提供了公共的鏡像倉庫,但是從安全和效率等方面考慮,部署我們私有環境內的Registry也是非常必要的。
Harbor是由VMware公司開源的企業級的Docker Registry管理項目,它包括權限管理(RBAC)、LDAP、日志審核、管理界面、自我注冊、
鏡像復制和中文支持等功能。
離線安裝
本次安裝的前提是已經安裝好了 docker 環境的服務器,centos 7
本次使用離線安裝的方式進行安裝。
首先安裝依賴:
yum install docker-compose -y
目前Harbor托管在GitHub上,所以需要在GitHub上下載離線安裝包。
地址: https://github.com/goharbor/harbor
在GitHub上下載 harbor 的離線安裝包
[root@registory src]# wget https://storage.googleapis.com/harbor-releases/release-1.9.0/harbor-offline-installer-v1.9.1-rc1.tgz
--2019-10-12 11:17:14--  https://storage.googleapis.com/harbor-releases/release-1.9.0/harbor-offline-installer-v1.9.1-rc1.tgz
Resolving storage.googleapis.com (storage.googleapis.com)... 216.58.200.48, 2404:6800:4008:801::2010
Connecting to storage.googleapis.com (storage.googleapis.com)|216.58.200.48|:443... connected.
HTTP request sent, awaiting response... 200 OK
Length: 619113214 (590M) [application/x-tar]
Saving to: ‘harbor-offline-installer-v1.9.1-rc1.tgz’

100%[===================================================================================================================================================>] 619,113,214 5.13MB/s   in 1m 53s

2019-10-12 11:19:07 (5.24 MB/s) - ‘harbor-offline-installer-v1.9.1-rc1.tgz’ saved [619113214/619113214]
[root@registory src]# ll harbor
total 607872
-rw-r--r-- 1 root root 622428100 Sep 27 14:52 harbor.v1.9.1.tar.gz
-rw-r--r-- 1 root root      5805 Sep 27 14:52 harbor.yml
-rwxr-xr-x 1 root root      5088 Sep 27 14:52 install.sh
-rw-r--r-- 1 root root     11347 Sep 27 14:52 LICENSE
-rwxr-xr-x 1 root root      1748 Sep 27 14:52 prepare
配置文件
[root@registory harbor]# egrep -v '#|^$' harbor.yml
hostname: 192.168.1.120     # 這里配置的監聽地址,可以是域名
http:
  port: 80                  # 端口
harbor_admin_password: Harbor12345  # 配置admin用戶的密碼
database:                   # 配置數據庫相關的信息
  password: root123         # 數據庫密碼
  max_idle_conns: 50
  max_open_conns: 100
data_volume: /data              # 鏡像存放的目錄
clair:
  updaters_interval: 12
jobservice:
  max_job_workers: 10
notification:
  webhook_job_max_retry: 10
chart:
  absolute_url: disabled
log:
  level: info
  local:
    rotate_count: 50
    rotate_size: 200M
    location: /var/log/harbor       # 日志目錄
_version: 1.9.0
proxy:
  http_proxy:
  https_proxy:
  no_proxy: 127.0.0.1,localhost,.local,.internal,log,db,redis,nginx,core,portal,postgresql,jobservice,registry,registryctl,clair
  components:
    - core
    - jobservice
    - clair
安裝
直接執行解壓后文件中的 install.sh 文件:
[root@registory harbor]# ./install.sh

[Step 0]: checking installation environment ...

Note: docker version: 19.03.2

Note: docker-compose version: 1.18.0

[Step 1]: loading Harbor images ...
b80136ee24a4: Loading layer [==================================================>]  34.25MB/34.25MB
cad87ea2da29: Loading layer [==================================================>]  77.02MB/77.02MB
034ded39ed39: Loading layer [==================================================>]  3.072kB/3.072kB
f6ca716ef169: Loading layer [==================================================>]   59.9kB/59.9kB
baf21a4a14d3: Loading layer [==================================================>]  61.95kB/61.95kB
Loaded image: goharbor/redis-photon:v1.9.1
... ... ...
... ... ...

Creating registry ... done
Creating harbor-core ... done
Creating network "harbor_harbor" with the default driver
Creating nginx ... done
Creating redis ...
Creating harbor-db ...
Creating registryctl ...
Creating registry ...
Creating harbor-portal ...
Creating harbor-core ...
Creating harbor-jobservice ...
Creating nginx ...

✔ ----Harbor has been installed and started successfully.----

Now you should be able to visit the admin portal at http://192.168.1.120.
For more details, please visit https://github.com/goharbor/harbor .
查看
[root@registory harbor]# netstat -lntup | grep 80
tcp6       0      0 :::80                   :::*                    LISTEN      3071/docker-proxy
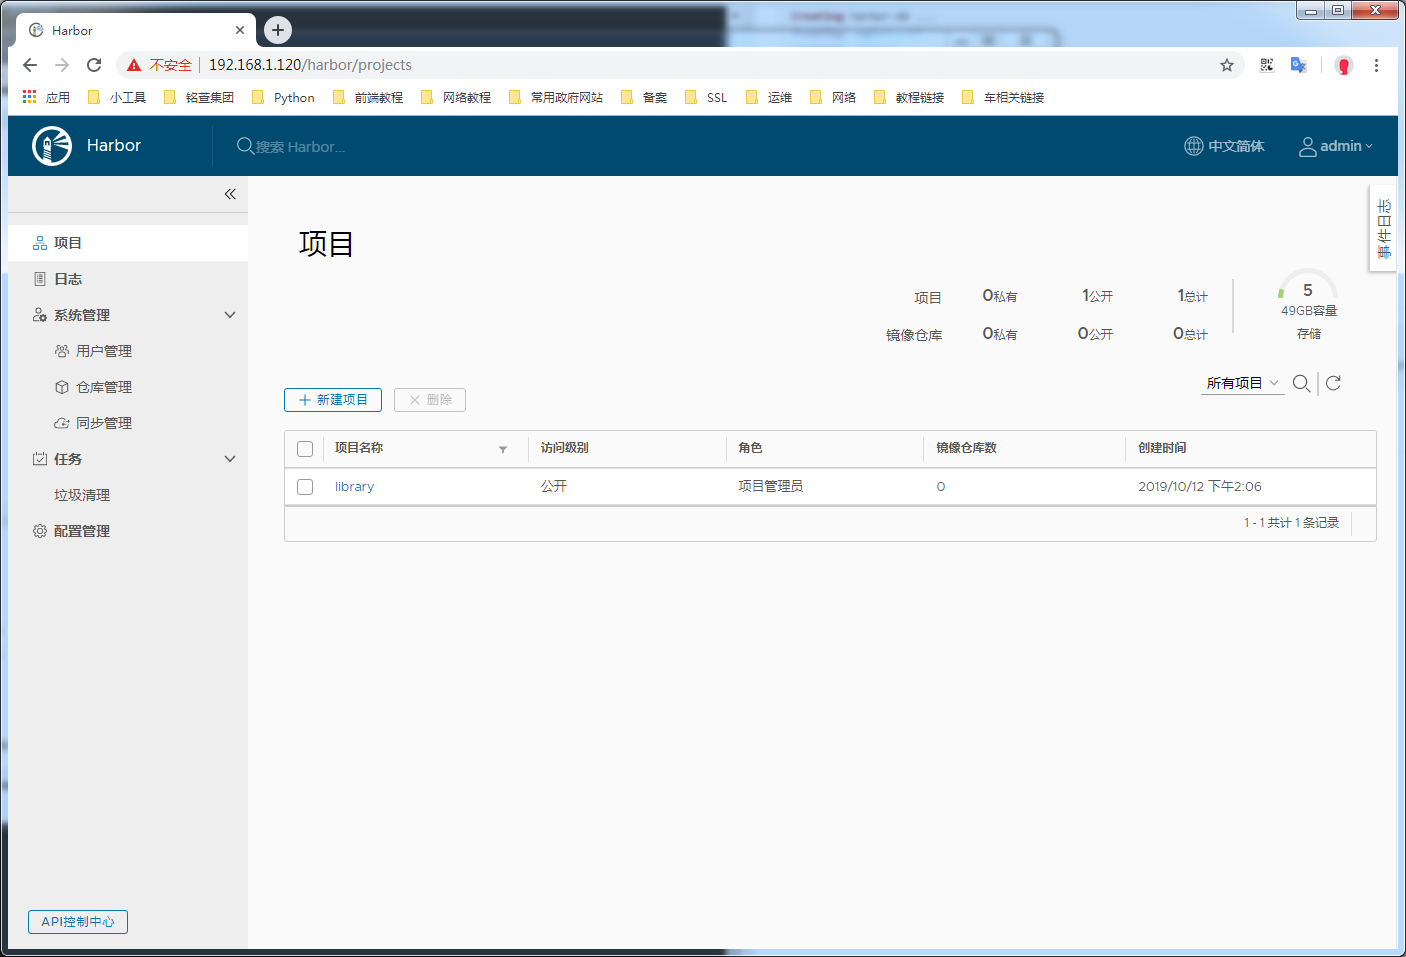
訪問測試 及 簡單操作
直接訪問 192.168.1.120

登陸
創建一個用戶

創建一個測試倉庫
創建測試倉庫


測試上傳和下載鏡像
上傳
注意: 默認情況下,docker使用的是https方式上傳和下載,本次是用的是80端口,所以需要手動配置一下
[root@registory ~]# cat /etc/docker/daemon.json
{
  "registry-mirrors": ["https://0tb09e4d.mirror.aliyuncs.com"],     # 鏡像加速
  "insecure-registries": ["registry.kubernetes"]               # 這里列表中可配置多個
}
說明:上述中的registry.kubernetes手動寫了hosts文件,所以需要注意,在需要使用該registry的機器上,都需要能解析。
[root@registory ~]# grep registry /etc/hosts
192.168.1.120 registry registry.kubernetes
修改鏡像 tag 之后上傳
首先登陸harbor,使用上面創建的tracy用戶
[root@registory harbor]# docker login registry.kubernetes
Username: tracy
Password:
WARNING! Your password will be stored unencrypted in /root/.docker/config.json.
Configure a credential helper to remove this warning. See
https://docs.docker.com/engine/reference/commandline/login/#credentials-store

Login Succeeded
修改tag后上傳
[root@registory harbor]# docker tag myweb:v0.3-5 registry.kubernetes/test/myweb:v0.3-5
[root@registory harbor]# docker push registry.kubernetes/test/myweb:v0.3-5
The push refers to repository [registry.kubernetes/test/myweb]
aac16c52a6d5: Pushed
076c58d2644f: Pushed
b2cbae4b8c15: Pushed
5ac9a5170bf2: Pushed
a464c54f93a9: Pushed
v0.3-5: digest: sha256:2ec492300be9fe3e79bf7992fcf8e643bd72fe5e64c63091f86dc3a50991fe9c size: 1360
下載鏡像測試
注意: 默認情況下,docker使用的是https方式上傳和下載,本次是用的是80端口,所以需要手動配置一下
[root@node03 ~]# cat /etc/docker/daemon.json
{
  "registry-mirrors": ["https://0tb09e4d.mirror.aliyuncs.com"],     # 鏡像加速
  "insecure-registries": ["registry.kubernetes"]               # 這里列表中可配置多個
}
說明:上述中的registry.kubernetes手動寫了hosts文件,所以需要注意,在需要使用該registry的機器上,都需要能解析。
[root@node03 ~]# grep registry /etc/hosts
192.168.1.120 registry registry.kubernetes
[root@node03 ~]# docker image pull registry.kubernetes/test/myweb:v0.3-5
v0.3-5: Pulling from test/myweb
bdf0201b3a05: Pull complete
3d0a573c81ed: Pull complete
8129faeb2eb6: Pull complete
3dc99f571daf: Pull complete
f17647d105d9: Pull complete
Digest: sha256:2ec492300be9fe3e79bf7992fcf8e643bd72fe5e64c63091f86dc3a50991fe9c
Status: Downloaded newer image for registry.kubernetes/test/myweb:v0.3-5
registry.kubernetes/test/myweb:v0.3-5