1. uWSGI 服務器
Django 默認使用 WSGI(Python Web Server Gateway )
作為 Web 服務器,一般僅用來作為測試使用,實際生產環境而是使用 uWSGI 和 Nginx 作為服務器。
uWSGI 代碼完全用C編寫,效率高、性能穩定,但是處理 靜態文件能力較弱,因此實際生產環境中,一般采用 uWSGI + Nginx 兩者搭配使用:
- uWSGI:處理動態請求(css、js、圖片文件等)
- Nginx:處理靜態文件請求(提交表單、mysql、動態渲染 html)
安裝:
pip3 install uWSGI
settings.py 配置
設置 ALLOWED_HOSTS:
ALLOWED_HOSTS = [
    # 加上本機的IP地址
    '192.168.xx.xxx',
    '127.0.0.1',
    'localhost'
]
也可以這樣設置:
ALLOWED_HOSTS = ['*']
1.1 通過參數啟動 uWSGI
# 請更換成你服務器 ip 和端口,其中 Celery_Test/wsgi.py 為Django 項目中自帶的 wsgi web 服務
hj@hj:~/桌面/Celery_Test$ uwsgi --http 192.168.21.128:8080 --file Celery_Test/wsgi.py --static-map=/static=static
出現如下效果便是運行成功了:

查看啟動端口:
hj@hj:~/桌面/Celery_Test/script$ ps -ef|grep uwsgi

hj       17176  5231  0 15:37 pts/1    00:00:00 uwsgi --http 192.168.xx.128:8080 --file Celery_Test/wsgi.py --static-map=/static=static
hj       17177 17176  0 15:37 pts/1    00:00:00 uwsgi --http 192.168.xx.128:8080 --file Celery_Test/wsgi.py --static-map=/static=static
hj       17206  6554  0 15:38 pts/2    00:00:00 grep --color=auto uwsgi
訪問 192.168.21.128:8080 :
1.2 通過配置文件啟動 uWSGI
在項目根目錄創建一個名為 uwsgi.ini 的配置文件,配置如下:
[uwsgi]
# 項目目錄
chdir=/home/hj/桌面/Celery_Test/
# 指定項目的application
module=Celery_Test.wsgi:application
# 指定sock的文件路徑
socket=/home/hj/桌面/Celery_Test/script/uwsgi.sock
# 進程個數
workers=5
pidfile=/home/hj/桌面/Celery_Test/script/uwsgi.pid
# 指定IP端口
http=192.168.21.128:8080
# 指定靜態文件
static-map=/static=/home/hj/桌面/Celery_Test/static
# 啟動uwsgi的用戶名和用戶組
uid=root
gid=root
# 啟用主進程
master=true
# 自動移除unix Socket和pid文件當服務停止的時候
vacuum=true
# 序列化接受的內容,如果可能的話
thunder-lock=true
# 啟用線程
enable-threads=true
# 設置自中斷時間
harakiri=30
# 設置緩沖
post-buffering=4096
# 設置日志目錄
daemonize=/home/hj/桌面/Celery_Test/script/uwsgi.log
配置好之后,運行 uwsgi --ini uwsgi.ini 啟動 uwsgi,出現如下信息即表示啟動成功:
hj@hj:~/桌面/Celery_Test$ uwsgi --ini uwsgi.ini
[uWSGI] getting INI configuration from uwsgi.ini
[uwsgi-static] added mapping for /static => /home/hj/桌面/Celery_Test/static
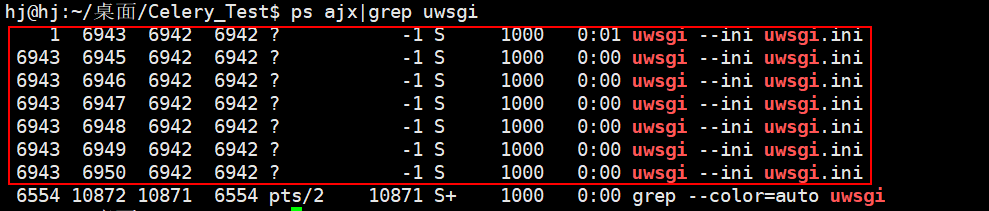
查看運行情況:
ps ajx|grep uwsgi
效果如下圖:
常用命令:
uwsgi --ini uwsgi.ini       # 啟動
    # 啟動時會生成兩個文件,分別為:
    # PID文件 標識這個程序所處的狀態
    # SOCK文件  用來和其他程序通信的
uwsgi --stop uwsgi.pid      # 停止
uwsgi --reload uwsgi.ini    # 重置
Tips
停止時出現 signal_pidfile()/kill(): No such process [core/uwsgi.c line 1693]
原因:當前端口進程與 uwsgi.pid 不一致,查看當前端口實際進程 ID,並修改 uwsgi.pid:
# 根據端口,查看進程
hj@hj:~/桌面/Celery_Test$ sudo netstat -nap | grep 8080
tcp        0      0 192.168.21.128:8080     0.0.0.0:*               LISTEN      6943/uwsgi


# 修改 uwsgi.pid 的值為 6943,並再重新停止
hj@hj:~/桌面/Celery_Test$ uwsgi --stop script/uwsgi.pid

# 查看發現已經成功停止
hj@hj:~/桌面/Celery_Test$ ps ajx|grep uwsgi
 5231 14550 14549  5231 pts/1    14549 S+    1000   0:00 grep --color=auto uwsgi
Linux 中怎么查看端口和進程號
# 加上 sudo
# 根據進程 pid 查看端口
lsof -i | grep pid

# 根據端口查看進程
lsof -i:port

# 根據進程 pid 查看端口
netstat -nap | grep pid

# 根據端口查看進程號
netstat -nap | grep port
2. Nginx 服務器
我們知道 uWSGI 處理靜態文件請求能力比較弱,因此一般實際生產環境中以 動靜分離 的方式處理動靜請求,即 uWSGI + Nginx。
Nginx 作用還包括負載均衡、反向代理等。
2.1 Ubuntu 上安裝 Nginx
Nginx 的軟件包在 Ubuntu 默認軟件倉庫中可用。 安裝非常簡單,只需鍵入以下命令:
sudo apt update
udo apt install nginx
查看服務器版本信息:
sudo nginx -v

nginx version: nginx/1.14.0 (Ubuntu)
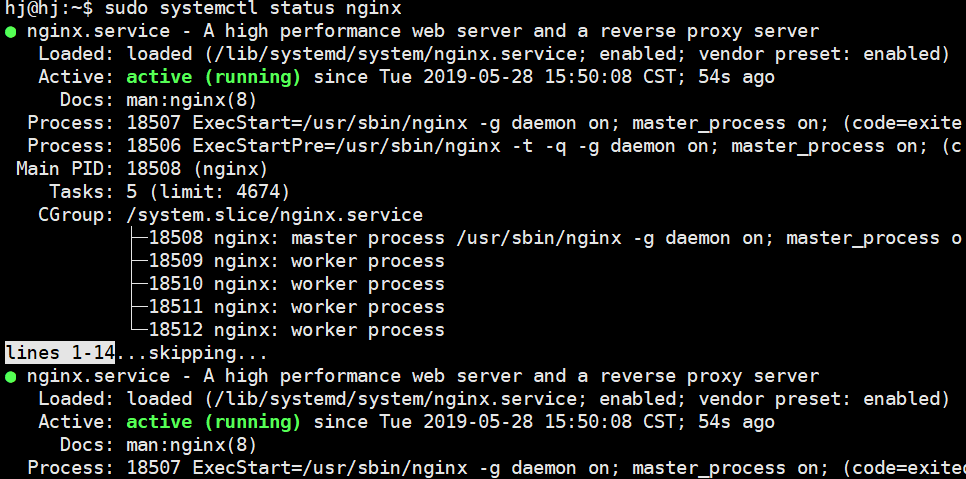
查看服務器狀態:
# 兩個都可以
sudo systemctl status nginx
ps -ef | grep nignx
配置防火牆
打開 80 和 443 端口允許通過防火牆:
hj@hj:~$ sudo ufw allow 'Nginx Full'
防火牆規則已更新
規則已更新(v6)
檢查是否更改:
hj@hj:~$ sudo ufw status
狀態: 激活

至                          動作          來自
-                          --          --
22                         ALLOW       Anywhere
4200                       ALLOW       Anywhere
Nginx Full                 ALLOW       Anywhere
22 (v6)                    ALLOW       Anywhere (v6)
4200 (v6)                  ALLOW       Anywhere (v6)
Nginx Full (v6)            ALLOW       Anywhere (v6)
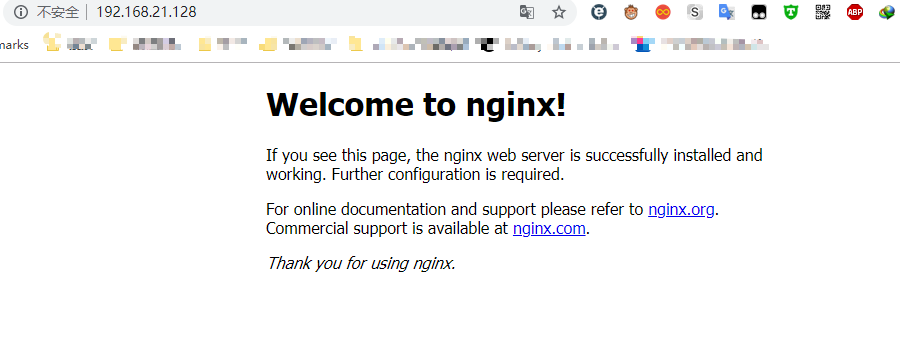
測試安裝
訪問:http://192.168.21.128/:
使用 systemctl 管理 Nginx 服務
您可以像任何其他 systemd 單位一樣管理 Nginx 服務:
# 停止Nginx服務
sudo systemctl stop nginx

# 再次啟動
sudo systemctl start nginx

# 重新啟動Nginx服務:
sudo systemctl restart nginx

# 在進行一些配置更改后重新加載 Nginx 服務:
$sudo systemctl reload nginx

# 如果你想禁用Nginx服務在啟動時啟動:
$sudo systemctl disable nginx

# 並重新啟用它:
$sudo systemctl enable nginx
2.2 CentOS 上安裝
以CentOS6.x 系統為例
- 更換源:
# 備份
mv /etc/yum.repos.d/CentOS-Base.repo /etc/yum.repos.d/CentOS-Base.repo.backup

# 更換成國內源
wget -O /etc/yum.repos.d/CentOS-Base.repo http://mirrors.aliyun.com/repo/Centos-6.repo

# 生成緩存
yum makecache
- 安裝 Nginx:
yum -y install nginx
2.3 與 uWSGI 結合使用部署 Django
為 Nginx 添加配置文件,Ngnix 默認配置文件加載是在 /etc/nginx/conf.d/ 目錄下,新建一個配置文件(名字隨意),編輯如下:
# 新建到配置文件 conf.d
vim /etc/nginx/conf.d/

# 編輯配置文件
server {            # 開始配置了
        listen 80;   # 監聽端口
        server_name 10.129.xxx.183 ;  # 你訪問的路徑前面的 url名稱
        access_log  /var/log/nginx/access.log  main;  # Nginx日志配置
        charset  utf-8; # Nginx編碼
        gzip on;  # 啟用壓縮,這個的作用就是給用戶一個網頁,比如3M壓縮后1M這樣傳輸速度就會提高很多
        gzip_types text/plain application/x-javascript text/css text/javascript application/x-httpd-php application/json text/json image/jpeg image/gif image/png application/octet-stream;  # 支持壓縮的類型

        error_page  404           /404.html;  # 錯誤頁面
        error_page   500 502 503 504  /50x.html;  # 錯誤頁面

        # 指定項目路徑 uwsgi
        location / {        # 類似於 Django的 url(r'^admin/', admin.site.urls),
            include uwsgi_params;  # 導入一個Nginx模塊他是用來和uWSGI進行通訊的
            uwsgi_connect_timeout 30;  # 設置連接uWSGI超時時間
            uwsgi_pass unix:/opt/project_teacher/script/uwsgi.sock;  # 指定uwsgi的sock文件所有動態請求就會直接丟給他
        }

        # 指定靜態文件路徑
        location /static/ {
            alias  /opt/project_teacher/teacher/static/;
            index  index.html index.htm;
        }

        }
參考:
server {
        listen 80;
        server_name 192.168.xx.128 ;
        access_log  /var/log/nginx/access.log  main;
        charset  utf-8;
        gzip on;
        gzip_types text/plain application/x-javascript text/css text/javascript application/x-httpd-php application/json text/json image/jpeg image/gif image/png application/octet-stream;
        error_page  404           /404.html;
        error_page   500 502 503 504  /50x.html;


        location / {
            include uwsgi_params;
            uwsgi_connect_timeout 30;
            uwsgi_pass unix:/home/hj/桌面/Celery_Test/script/uwsgi.sock;
        }


        location /static/ {
            alias  /home/hj/桌面/Celery_Test/static/;
	    index index.html index.htm
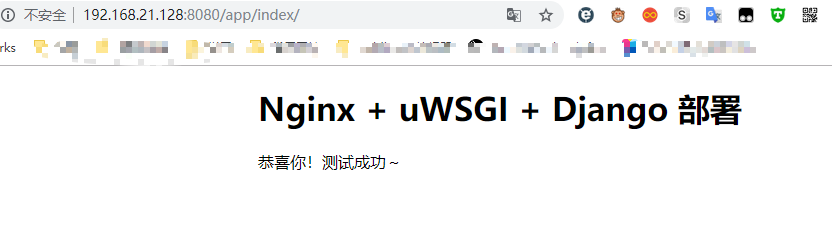
啟動 Nginx 服務 /etc/init.d/nginx start,訪問:http://192.168.21.128:8080/app/index/,效果如下圖:

常用命令:
/etc/init.d/nginx start     # 啟動
/etc/init.d/nginx stop      # 關閉

#  Nginx配置是重啟才生效,若修改配置不知道是否對不對,可以用來測試
/etc/init.d/nginx configtest

# 生產環境直接 reload就行了,不要 stop start 或者 restart
/etc/init.d/nginx reload
配置 Django 靜態文件
admin 所需的靜態文件都在 Django 的安裝內,我們沒有配置指向 Django 的配置文件。
解決辦法:
- 設置
settings.py,將所有靜態文件收集到static_all中:
# settings.py
STATIC_ROOT = os.path.join(BASE_DIR, "static_all")

# 收集成功提示(僅供參考)
120 static files copied to '/home/hj/桌面/Celery_Test/static_all'.
- 收集靜態文件到
static_all這個目錄中(可不創建 static_all):
python3 manage.py collectstatic --noinput
- 修改
/etc/nginx/conf.d/test.ini中靜態文件路徑:
alias /home/hj/桌面/Celery_Test/static_all;
指定其他地方放置靜態文件
# 新建目錄
sudo mkdir -vp /var/www/test2/static/

# 賦予權限
sudo chmod 777 /var/www/test2/static/

# 修改項目中 settings.py,指定靜態文件路徑
STATIC_ROOT = '/var/www/test2/static/'
STATIC_URL = '/static/'

# 收集靜態文件到 /var/www/test2/static/ 中
python3 manage.py collectstatic

# 輸入 yes,開始收集,重新加載 Nginx 服務